01. Installation
Our first step is to create the web app and setup our local environment. This Bootcamp assumes you have PHP installed on your system.
Installing Laravel
We'll create a fresh Laravel project using Laravel's installer. If you don't yet have the installer, you may install it using Composer:
composer global require laravel/installer
Next, we'll create the fresh Laravel project using the Hotwire Starter Kit:
laravel new turbo-chirper --using=hotwired-laravel/hotwire-starter-kit --pest
Answer "no" to the question about NPM. After the project has been created, start Laravel's local development server using the Composer dev script:
cd turbo-chirper/
composer run dev
Once you have started the Artisan development server, your application will be accessible in your web browser at http://localhost:8000.
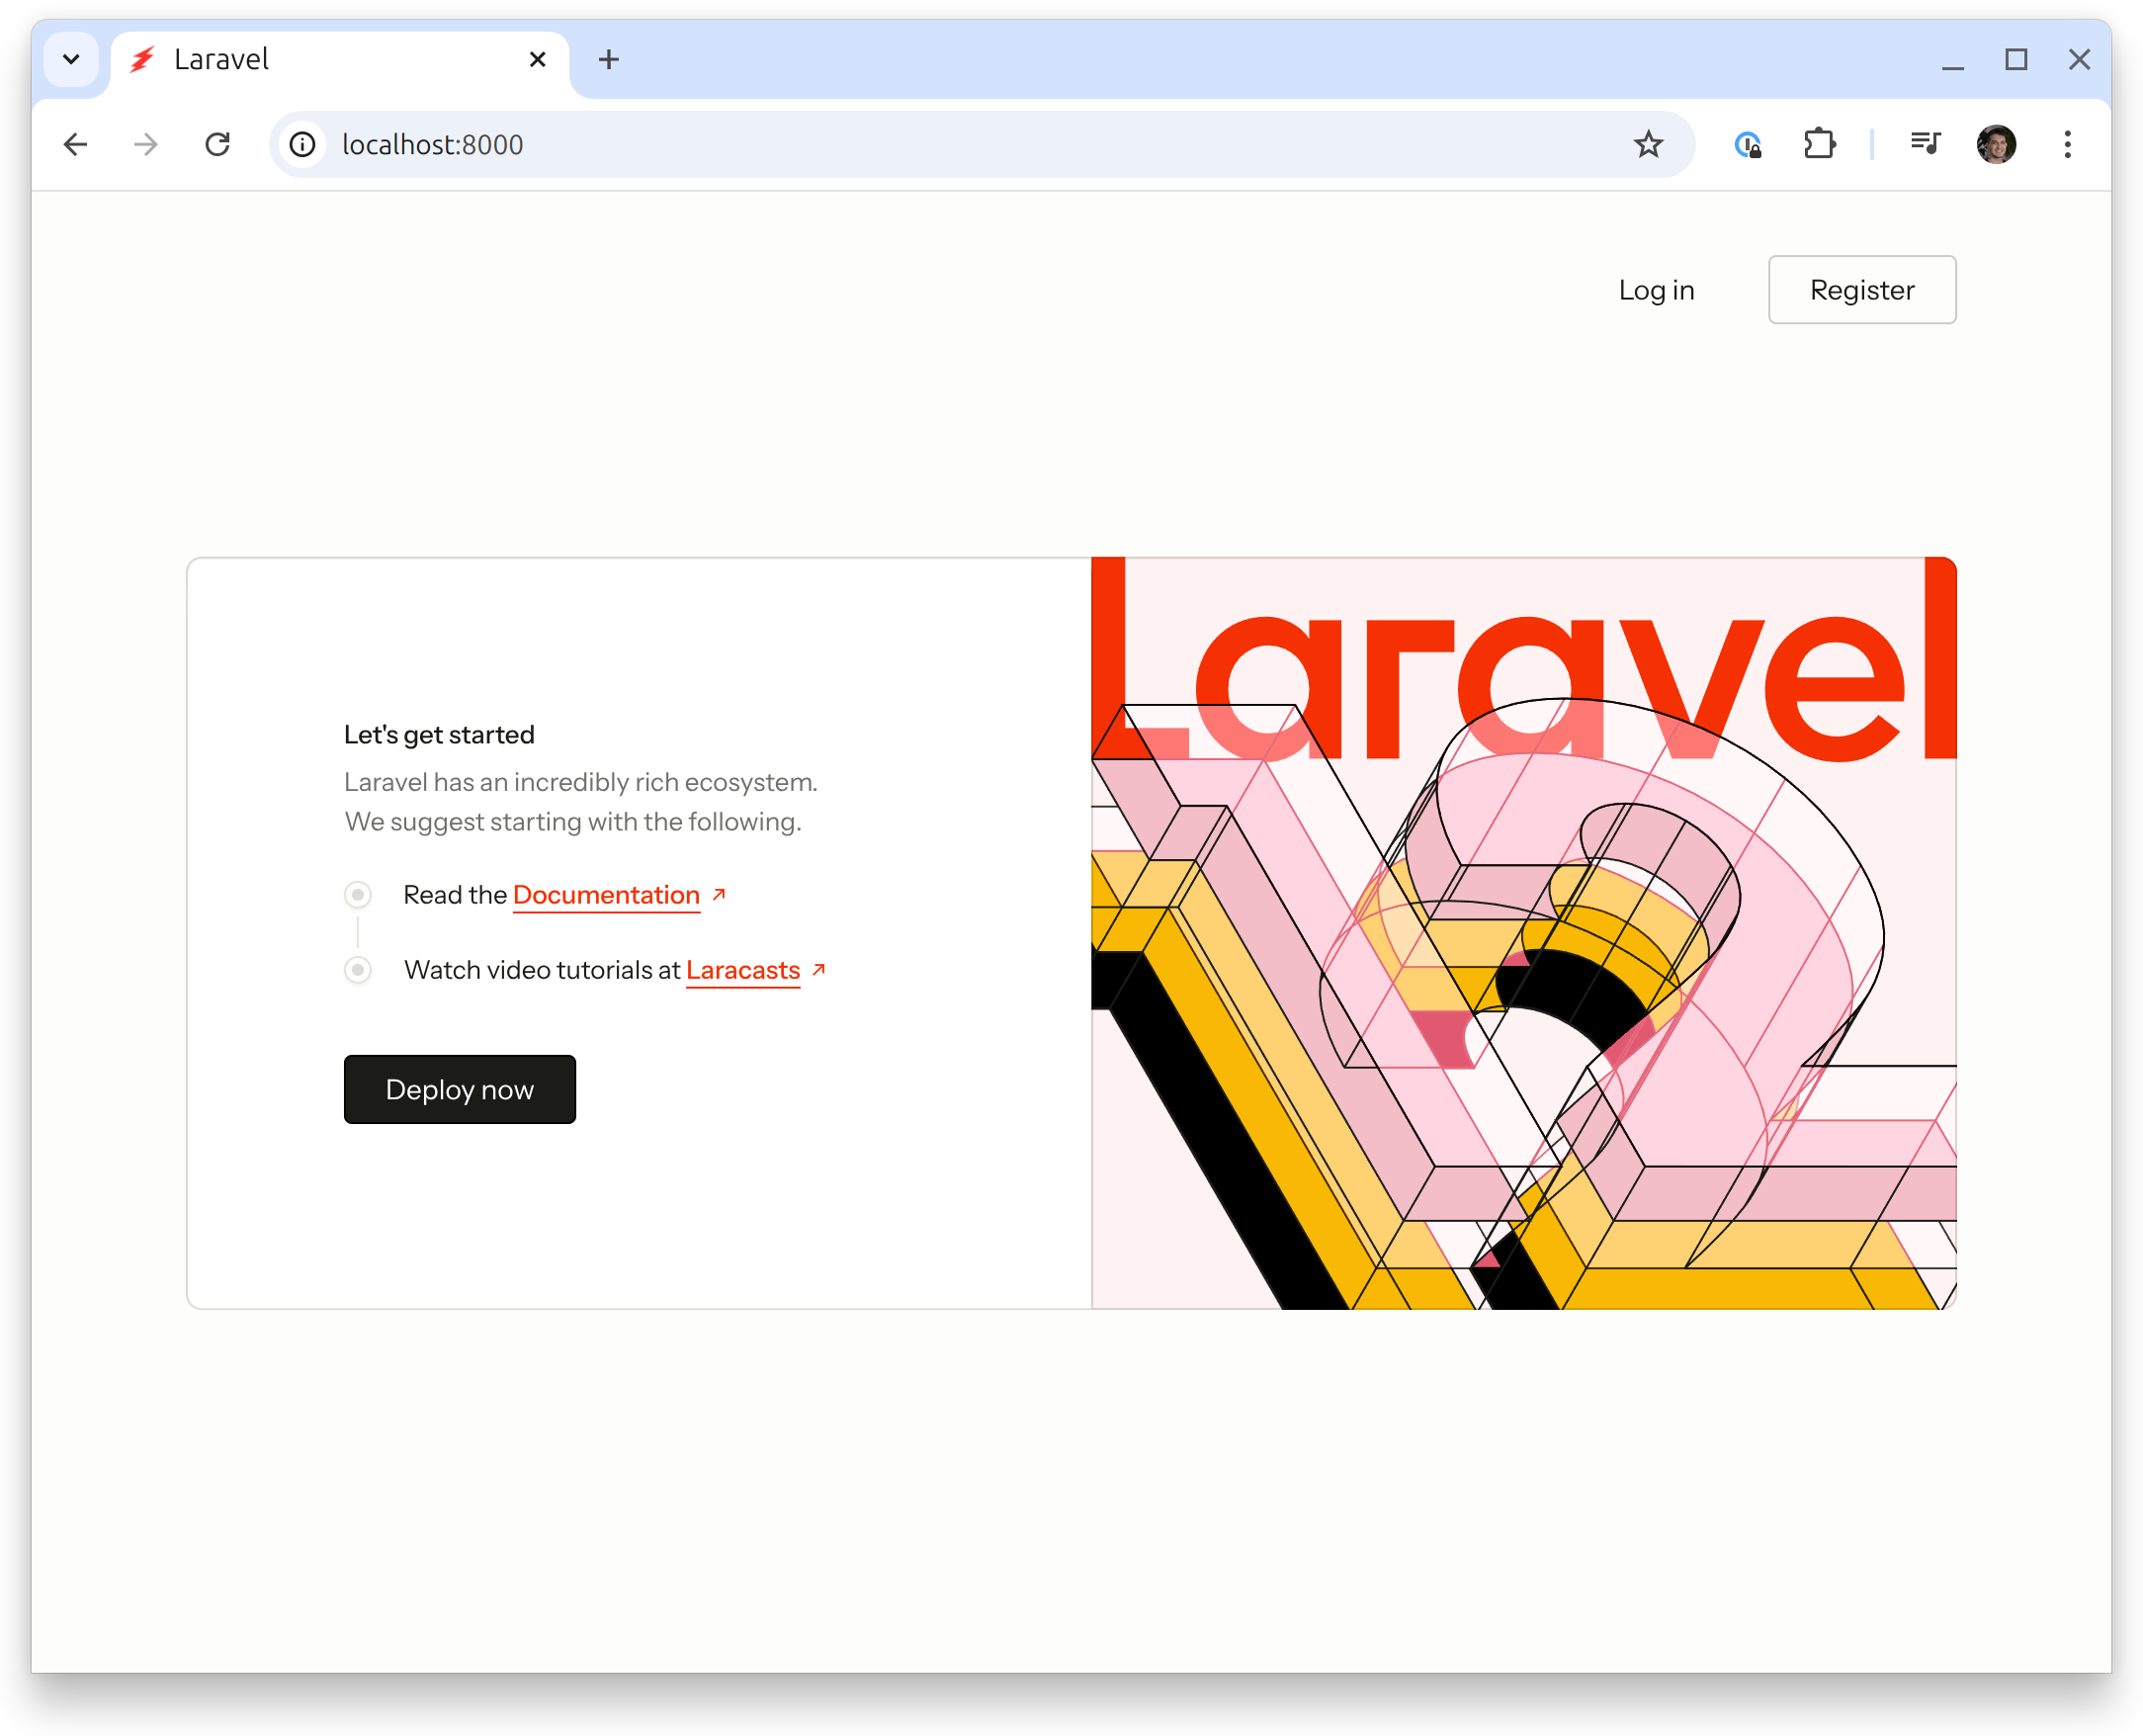
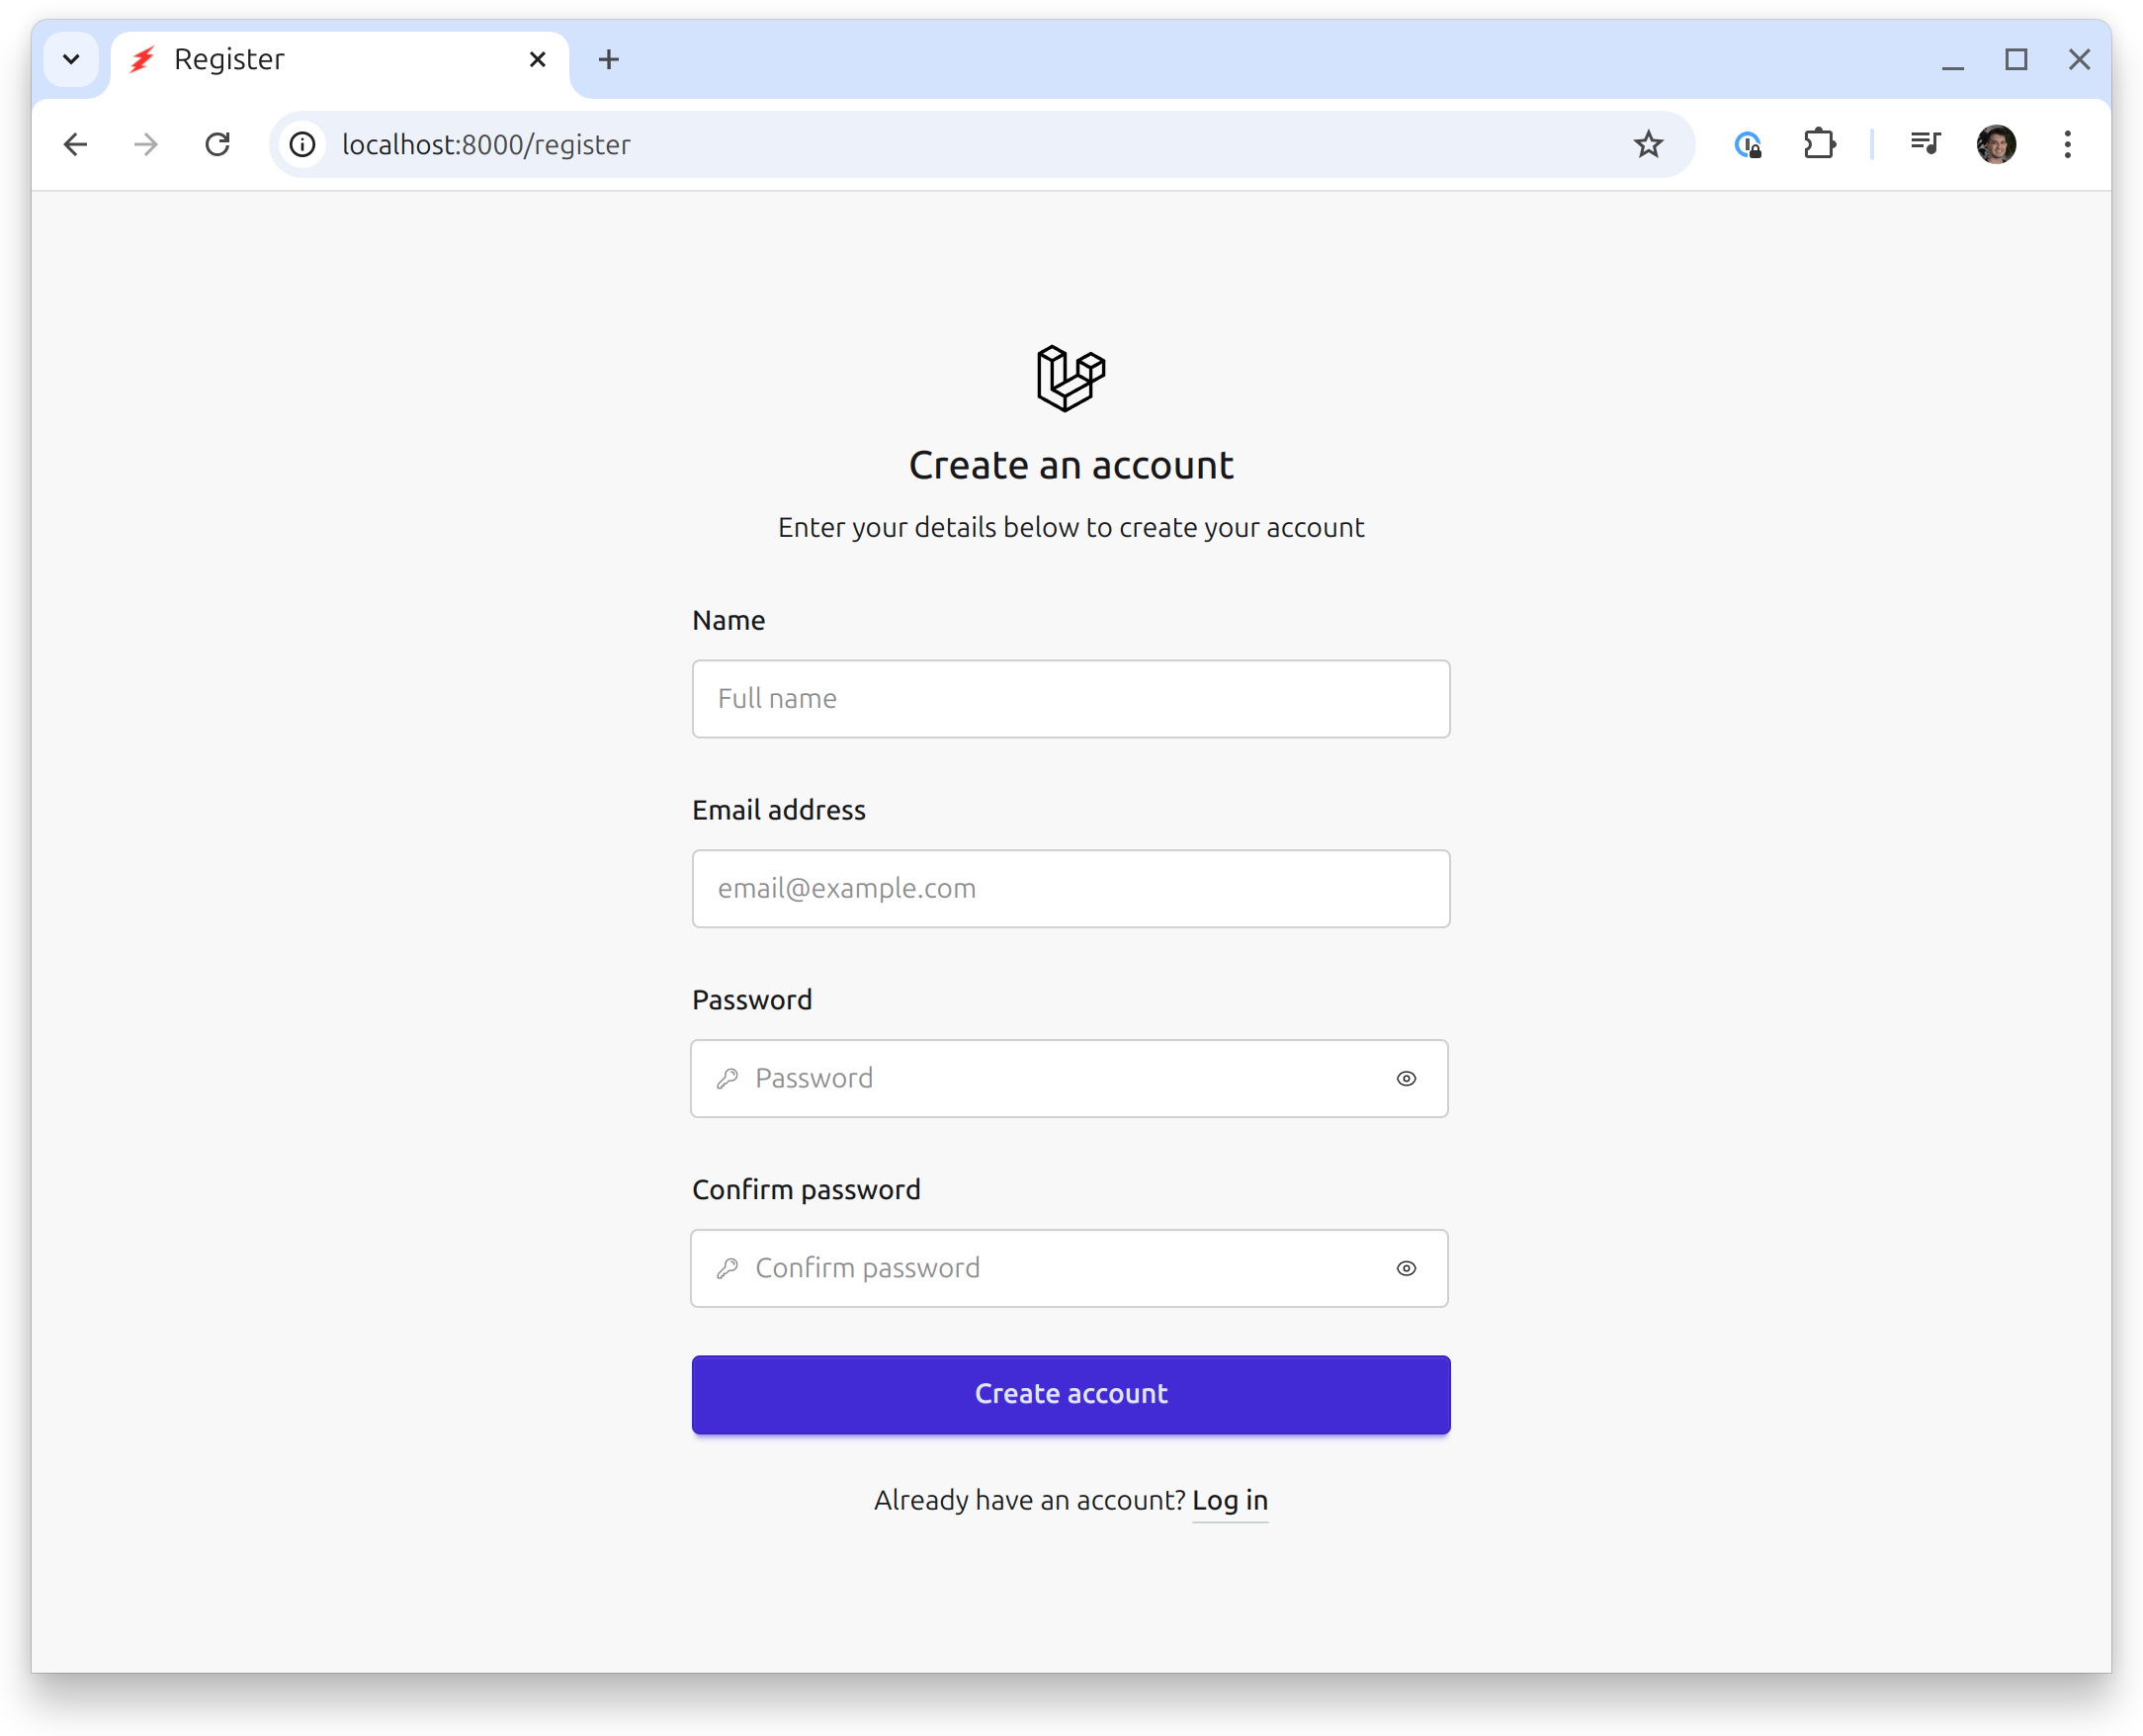
By default, the Laravel app will be created using SQLite. The welcome page should have the Login and Register links at the top. You should be able to head to the /register route and create your own account:
Then, you should be redirected to the Dashboard page:
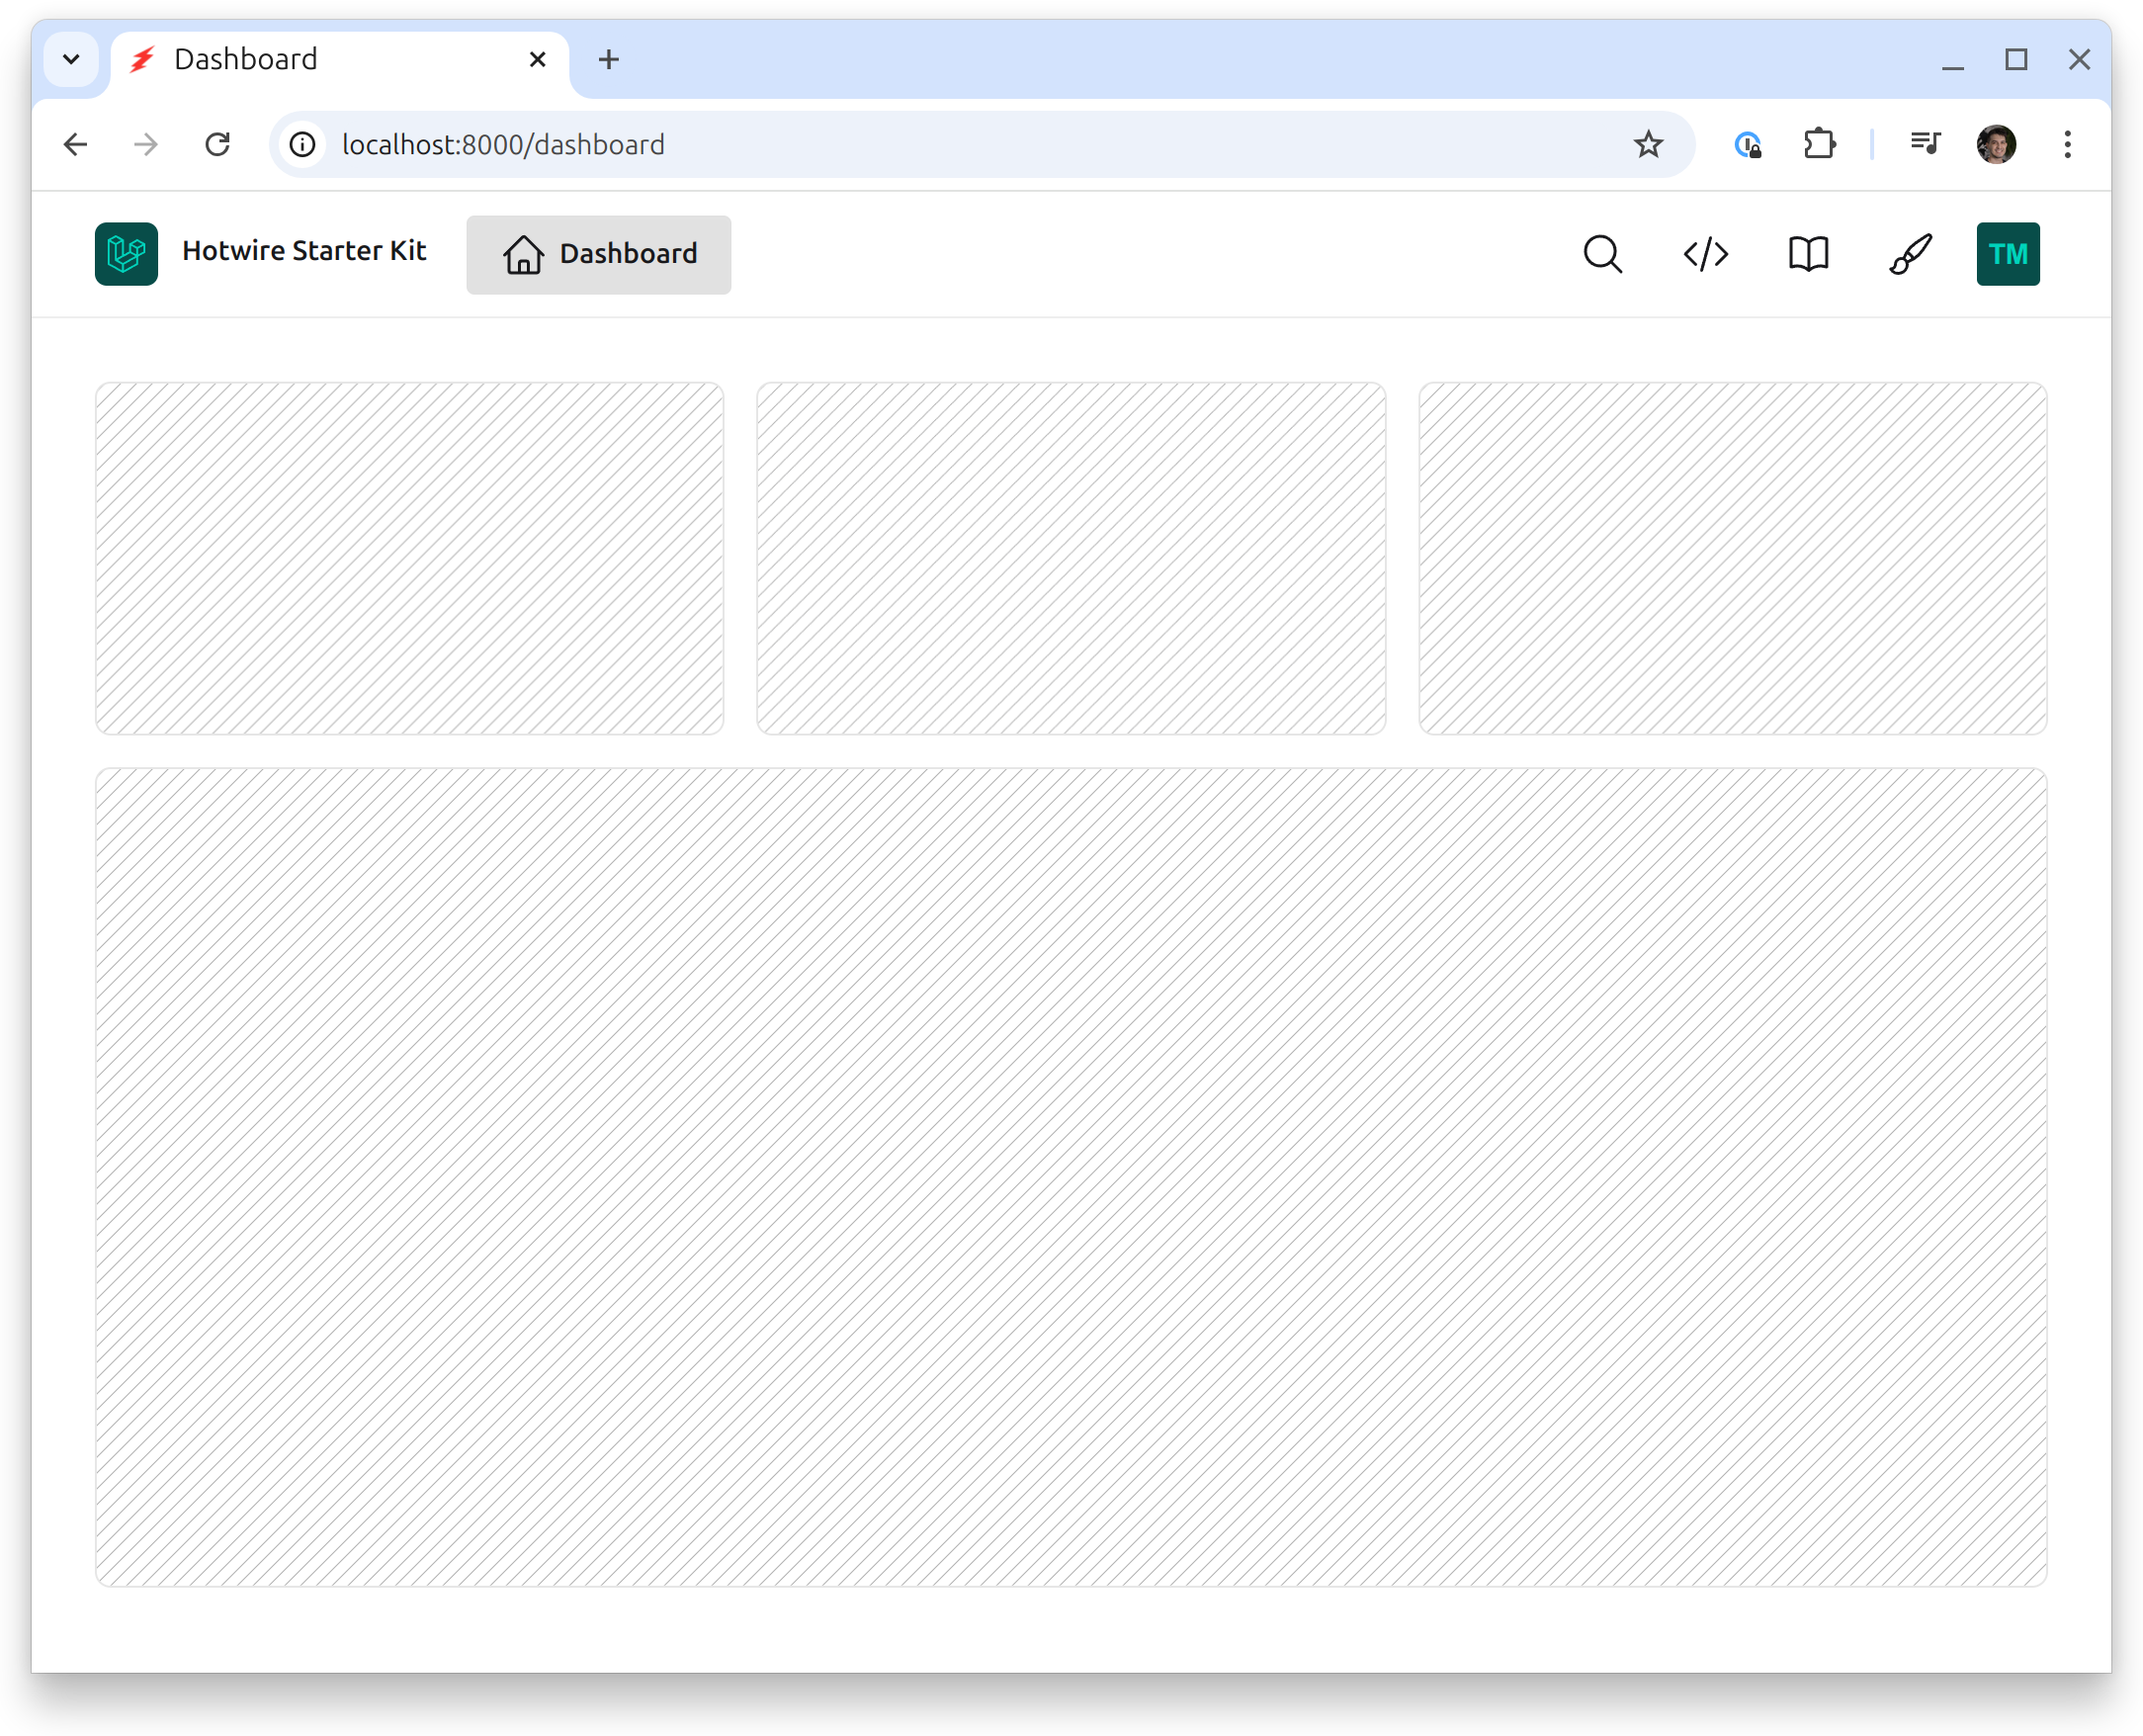
This Dashboard page is protected by Laravel's auth middleware, so only authenticated users can access it. The registration process automatically authenticates us.
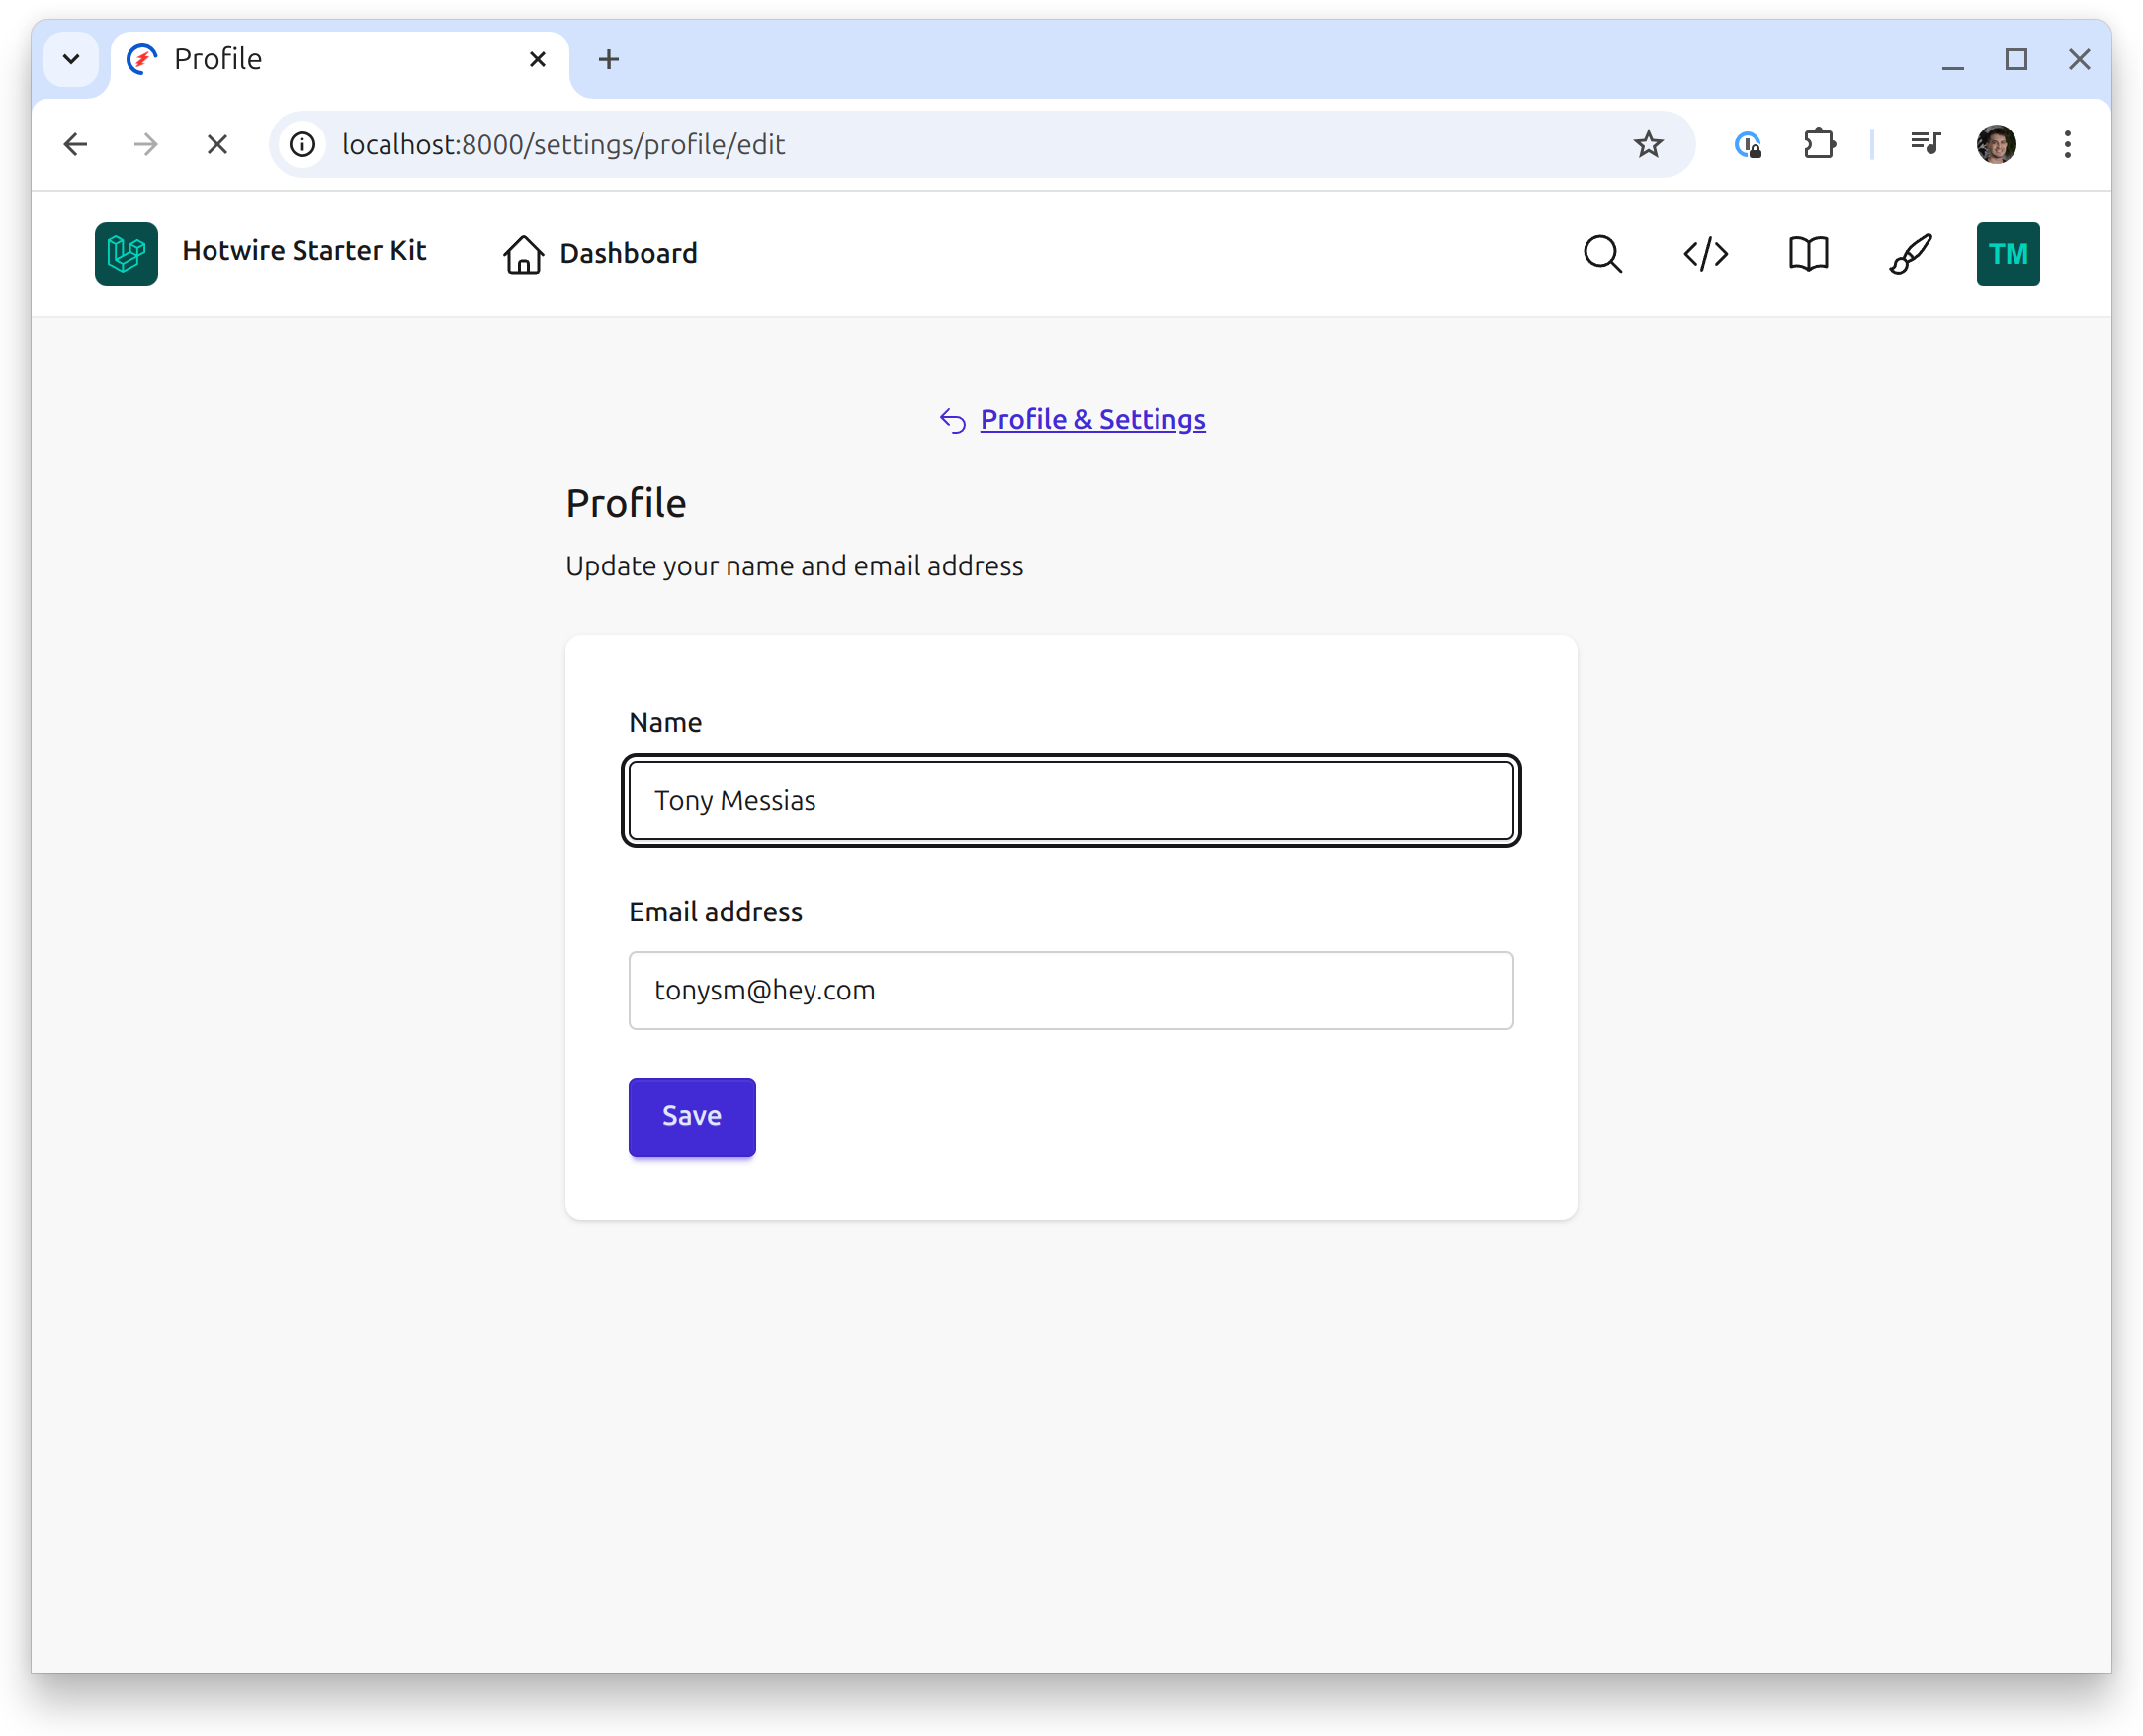
If you click on your profile, you will see a settings menu screen with a few options of settings you may change:

Click on the edit profile link will go to the edit profile page:
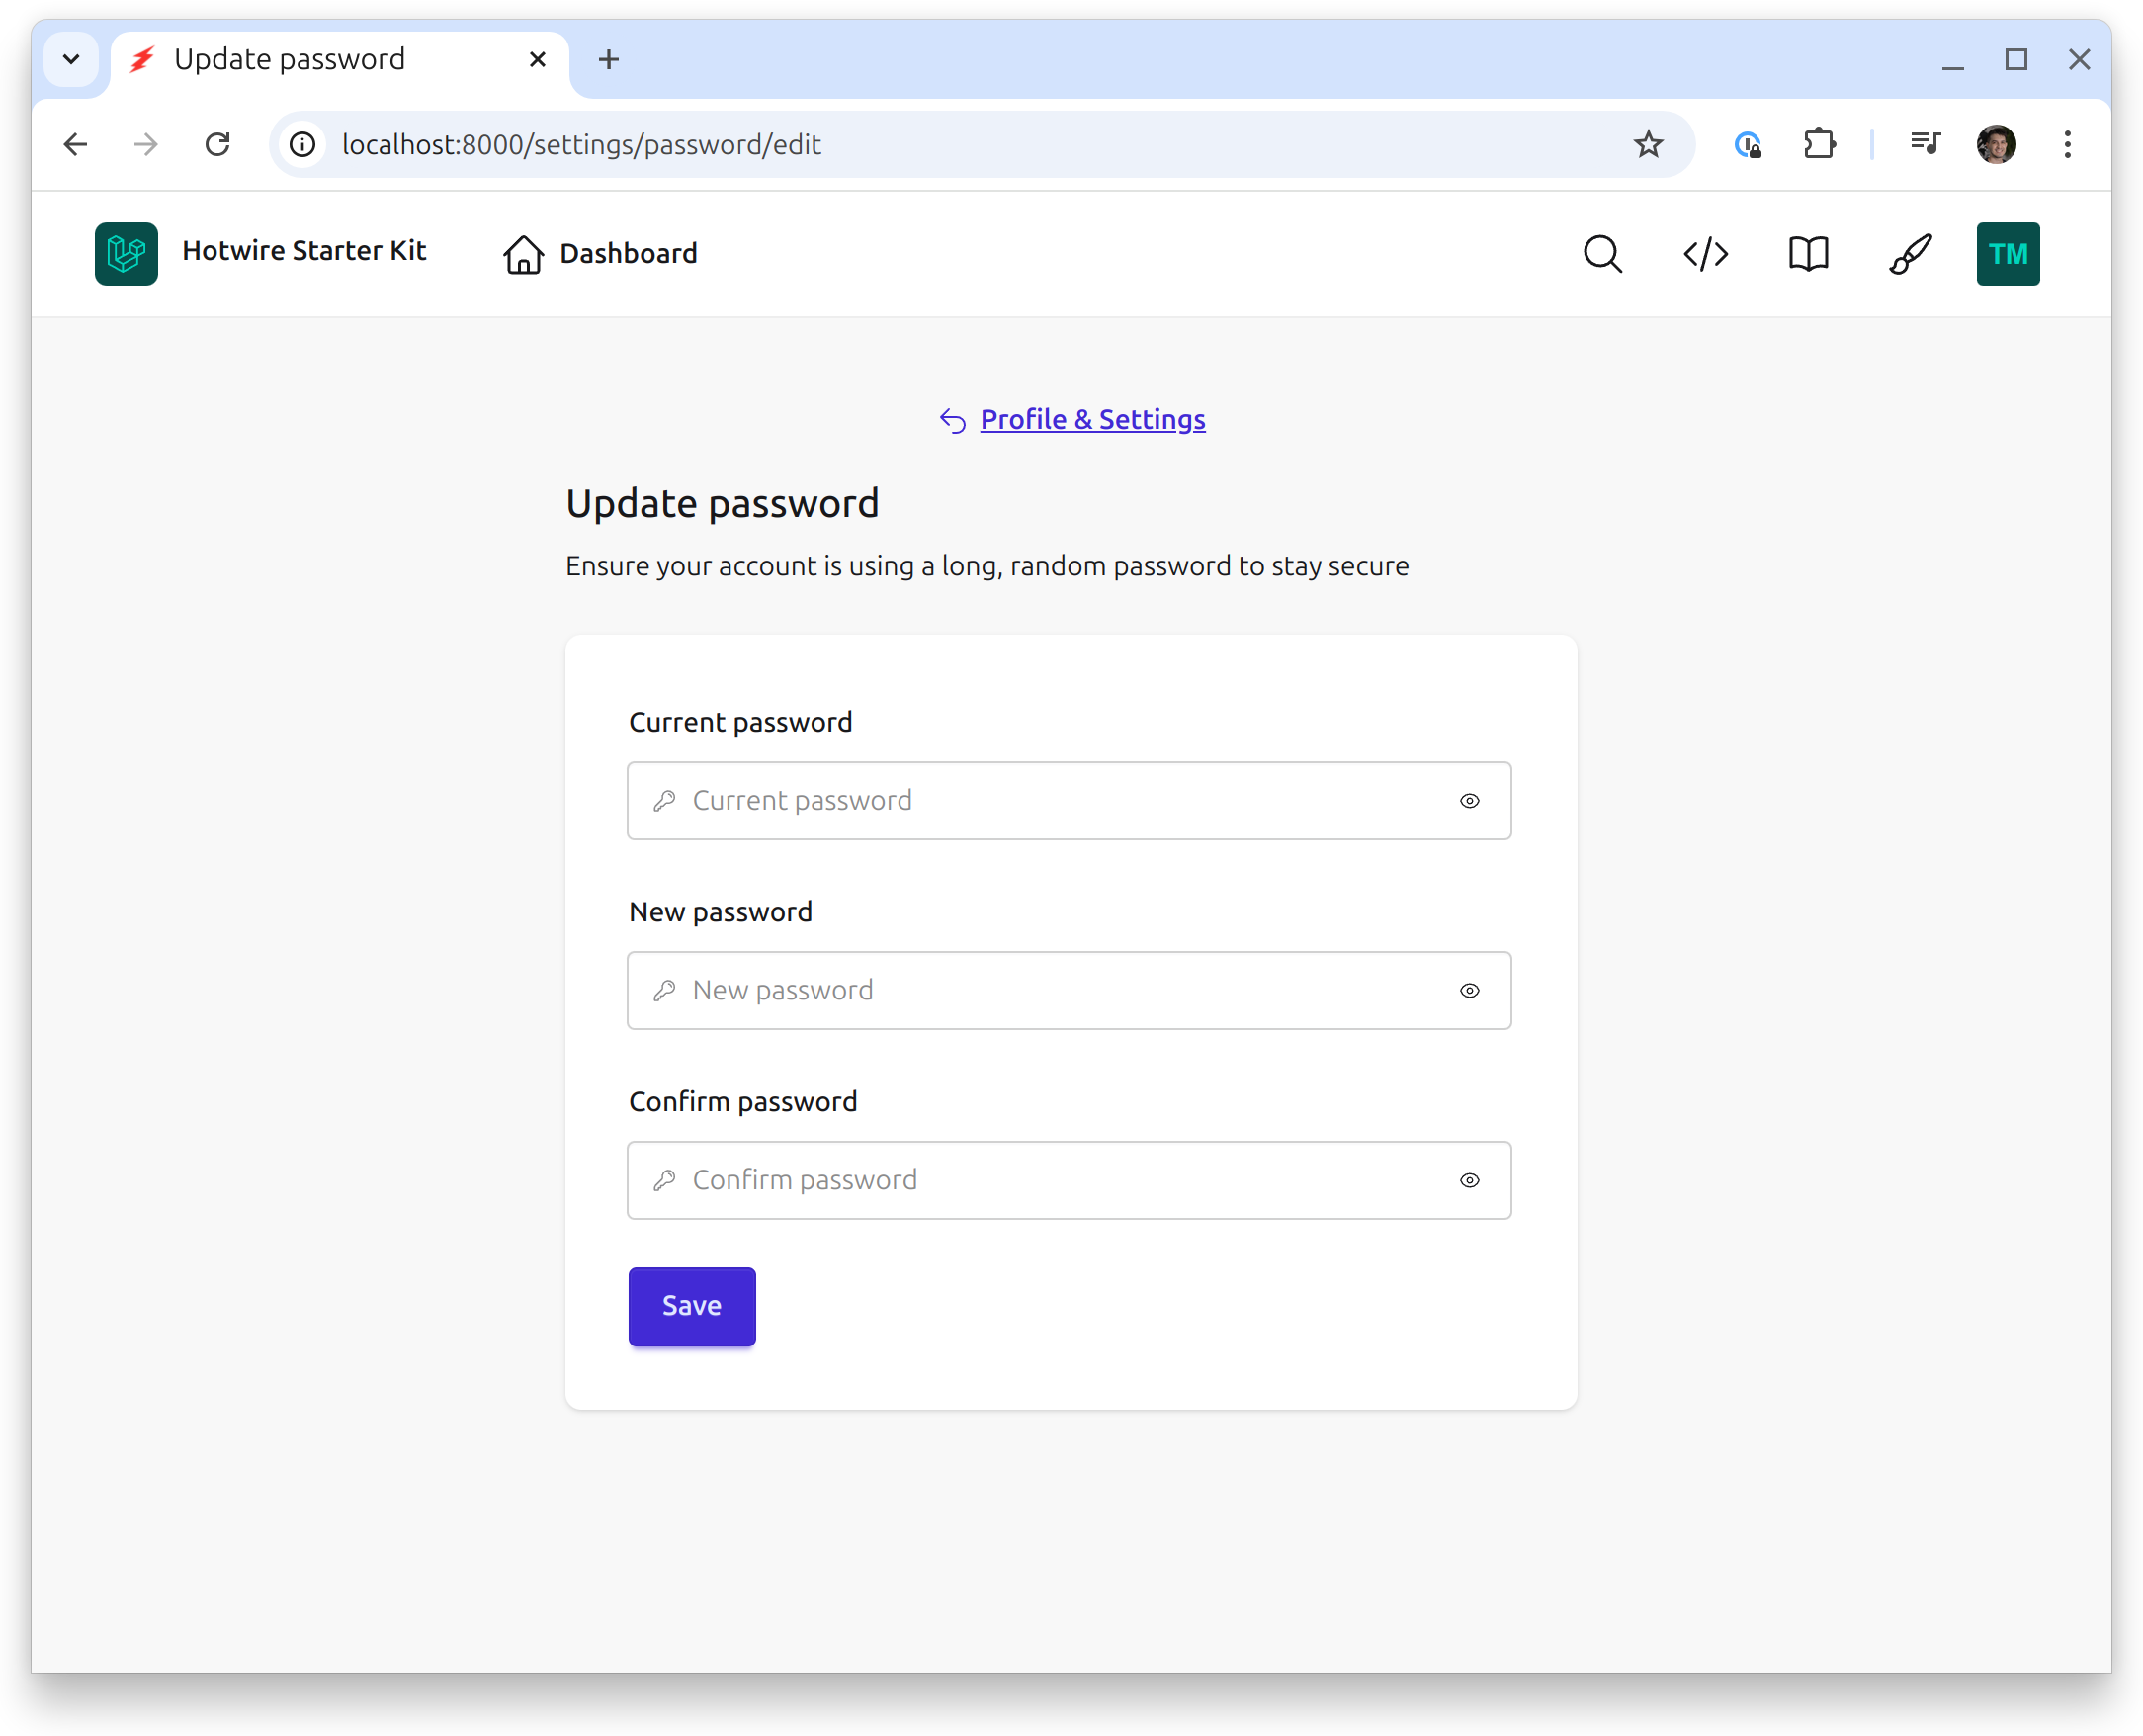
Here's the change password page:
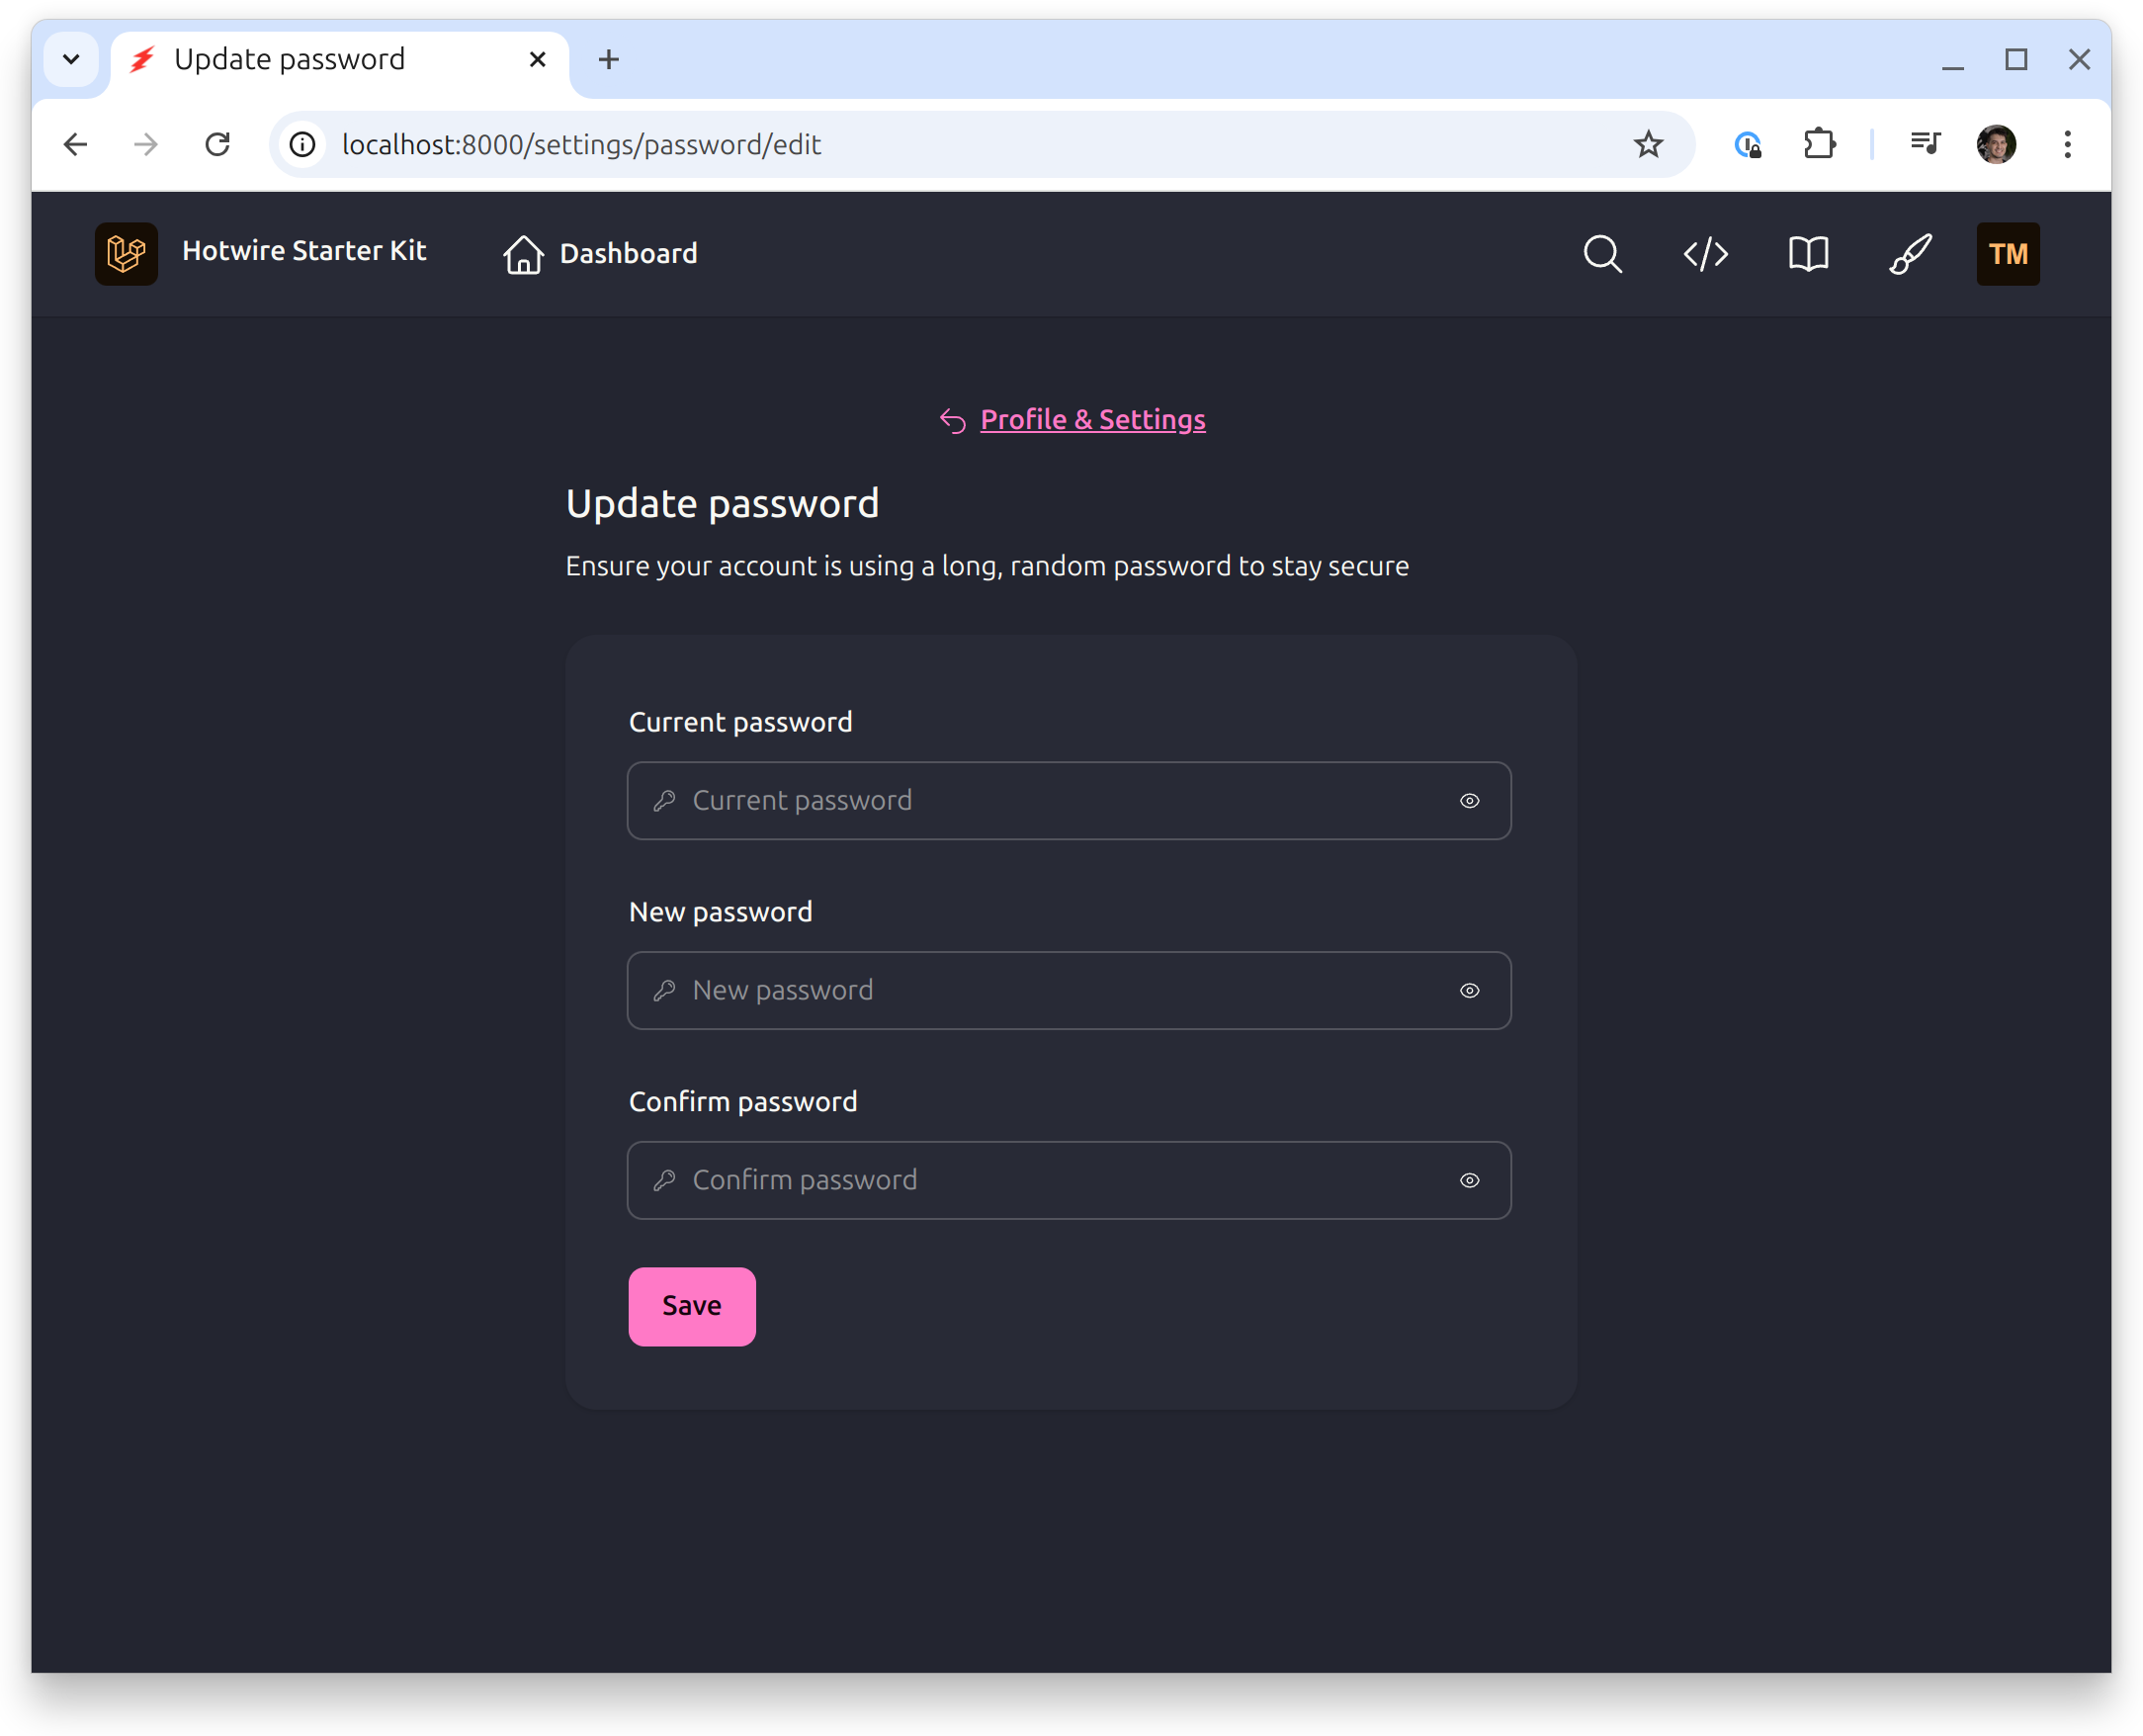
In the main nav there's a theme switcher which allows you to change the daisyUI theme:
Let's build our first feature!