08. Turbo Native Android Setup
- Introduction
- Setting Up The Local Development
- Setting Up The Project
- Installing Turbo Native
- Configuring Turbo Native
Introduction
Hotwire offers mobile native adapters to help building high-fidelity hybrid apps with native navigation and a single shared web view.
You'll need a little bit of mobile development knowledge, specifically for Android and Kotlin. Not that much, though, because to be honest I'm no mobile dev expert myself.
This guide isn't about "the best way to build Turbo Native apps". The idea is just to show you what's possible and how it integrates with Turbo.js and Turbo Laravel.
We're gonna focus on the Turbo Native for Android lib. I feel like Turbo Native for iOS has a lot more attention, so I want to focus on Android for a bit. It's also the platform I am more familiar with, to be honest.
In Android development, each screen used to be its own Activity, but that has changed over the years and now the "Single Activity" approach seems to be the way to go. Watch this talk called "Single activity: why, when, and how". In short, we're gonna have a single activity and each screen will be represented by a Fragment and we'll use Google's Navigation component library to decide which fragment to present.
Head over to the Overview section in the docs for Turbo Native for Android.
Let's setup the Android app.
Setting Up The Local Development
To get started, you will need Java, Kotlin, and Android Studio installed locally. We're not gonna cover installing those things, but you should be able to find many resources on that.
I'm using ASDF, so here's some links:
- ASDF itself: https://asdf-vm.com/
- ASDF Java: https://github.com/halcyon/asdf-java
- ASDF Kotlin: https://github.com/asdf-community/asdf-kotlin
- Android Studio: https://developer.android.com/studio
Get those installed first, and then we'll create the project.
Setting Up The Project
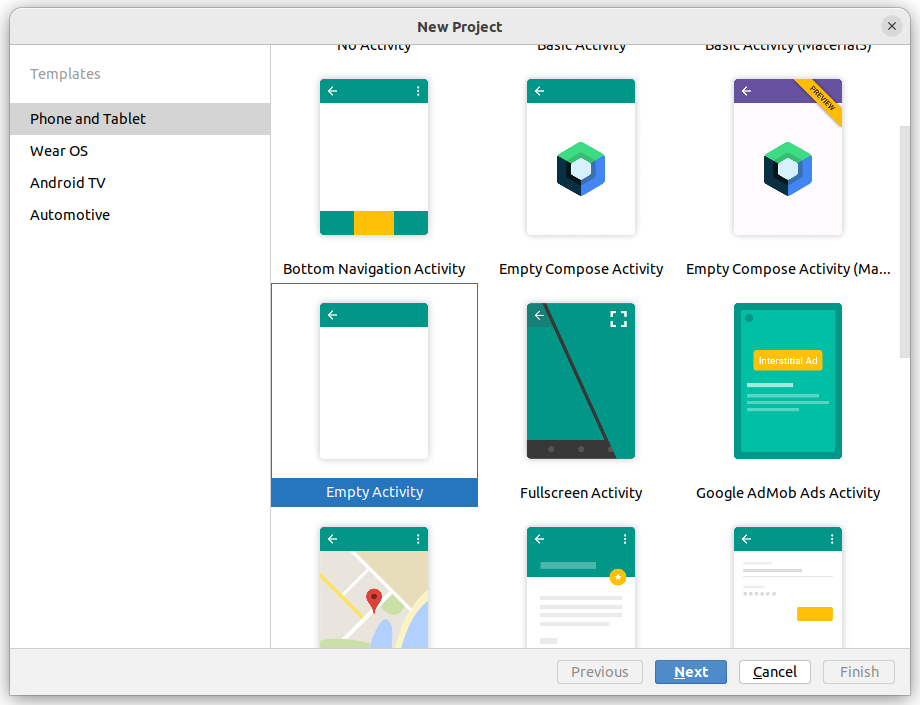
When creating the project, make sure you choose the "Empty Activity" option.
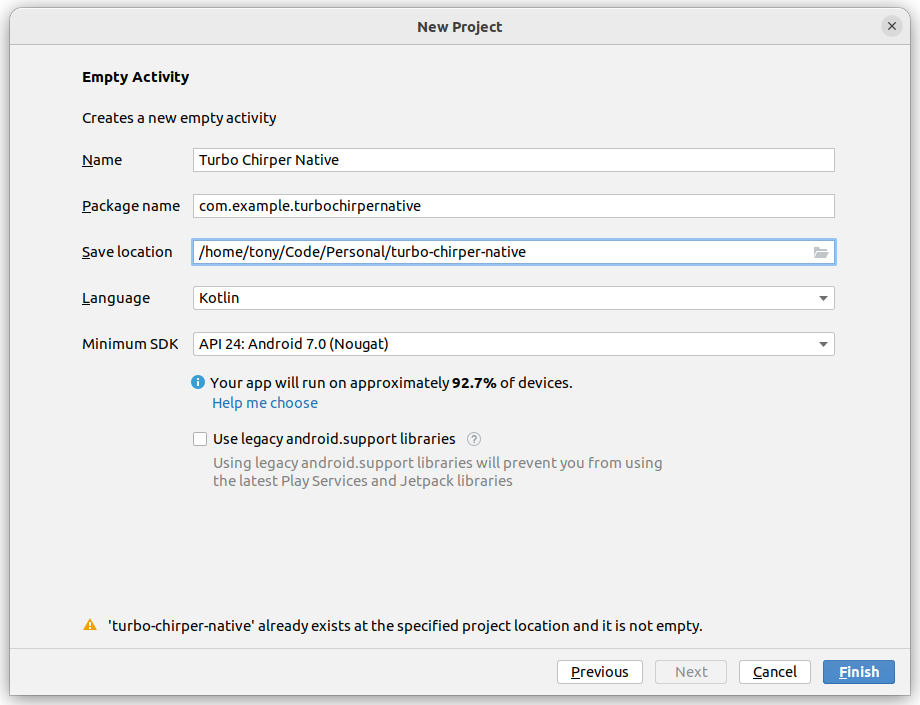
On the next screen, make sure you choose the "API 24" as that's required by the Turbo Native adapter.
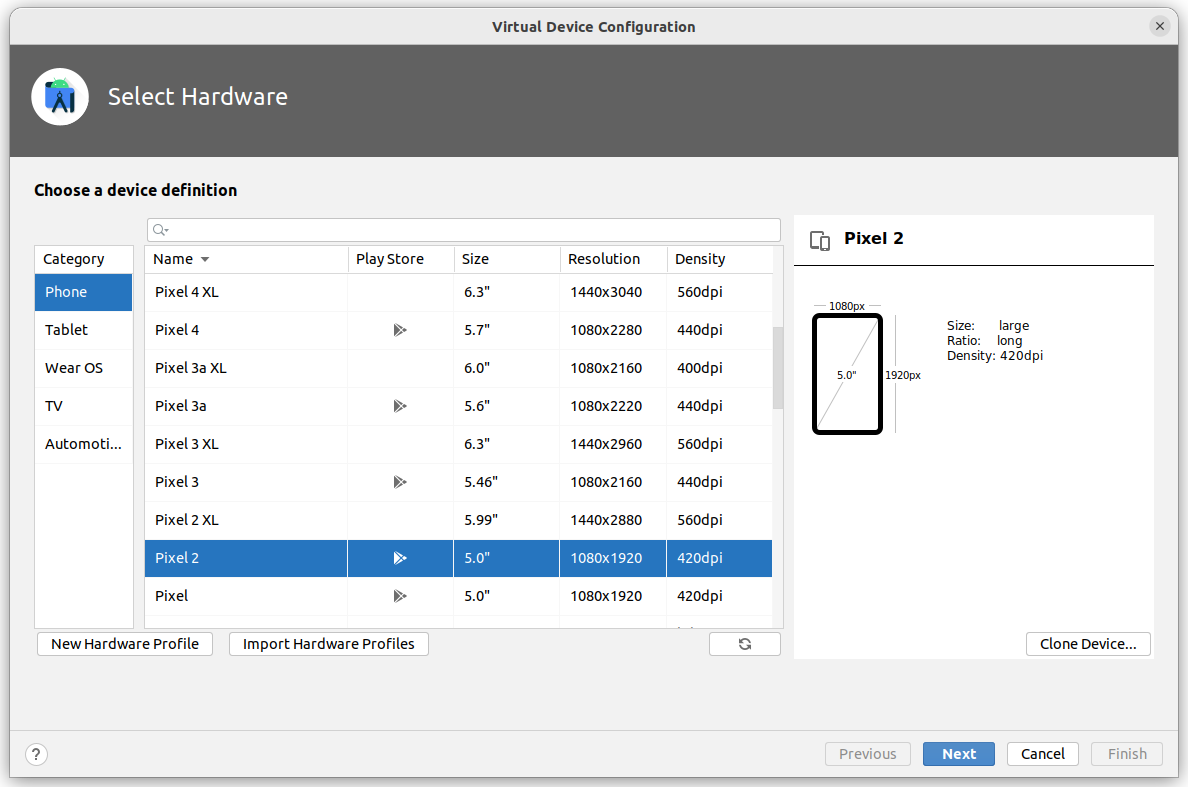
Next, you're going to need to create a Virtual Device, next to the "run" icon (the green right-arrow in toolbar at the top), there's a dropdown with the "Device Manager" option. Click on it. In the sidebar that opens, click on the "Create Device" option. Choose whatever device you want to emulate, I'll go with a Pixel 2.
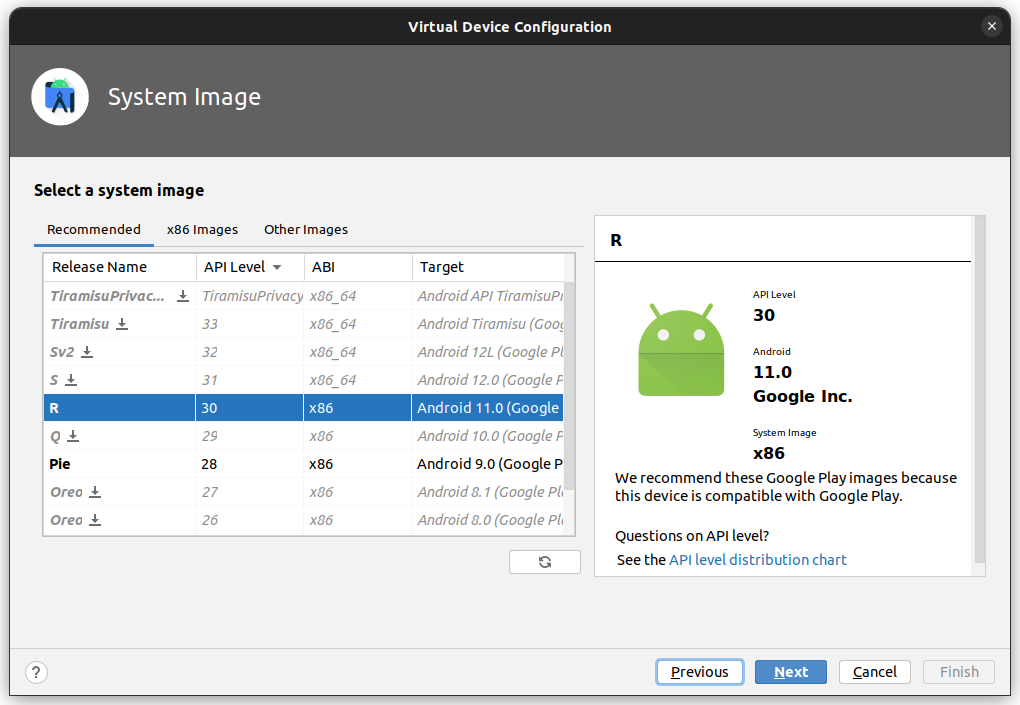
For the System image, I'm choose API level 30, which is Android R.
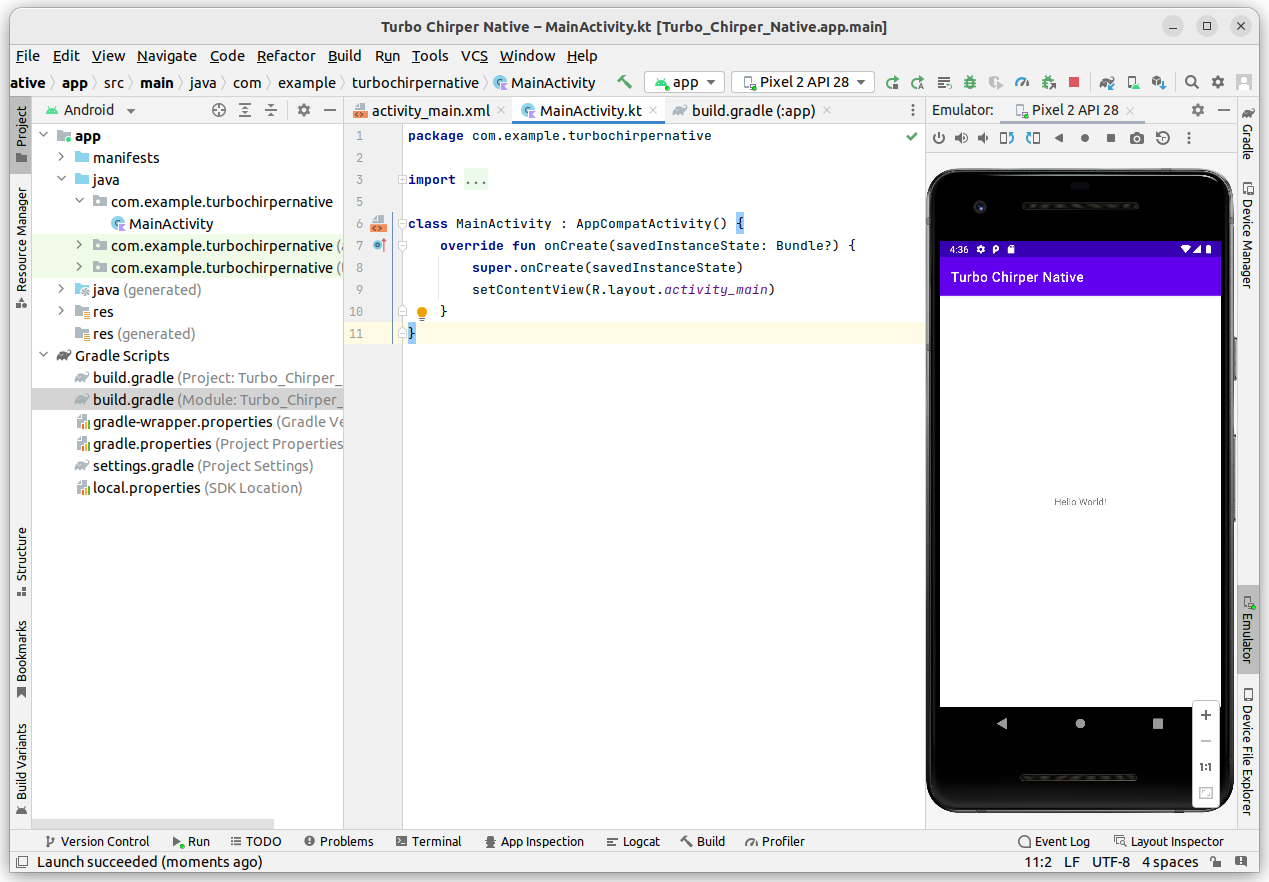
Now, you should see the option to run the app on the device emulator! Pressing on that, you should the app is running!
Let's install Turbo Native.
Installing Turbo Native
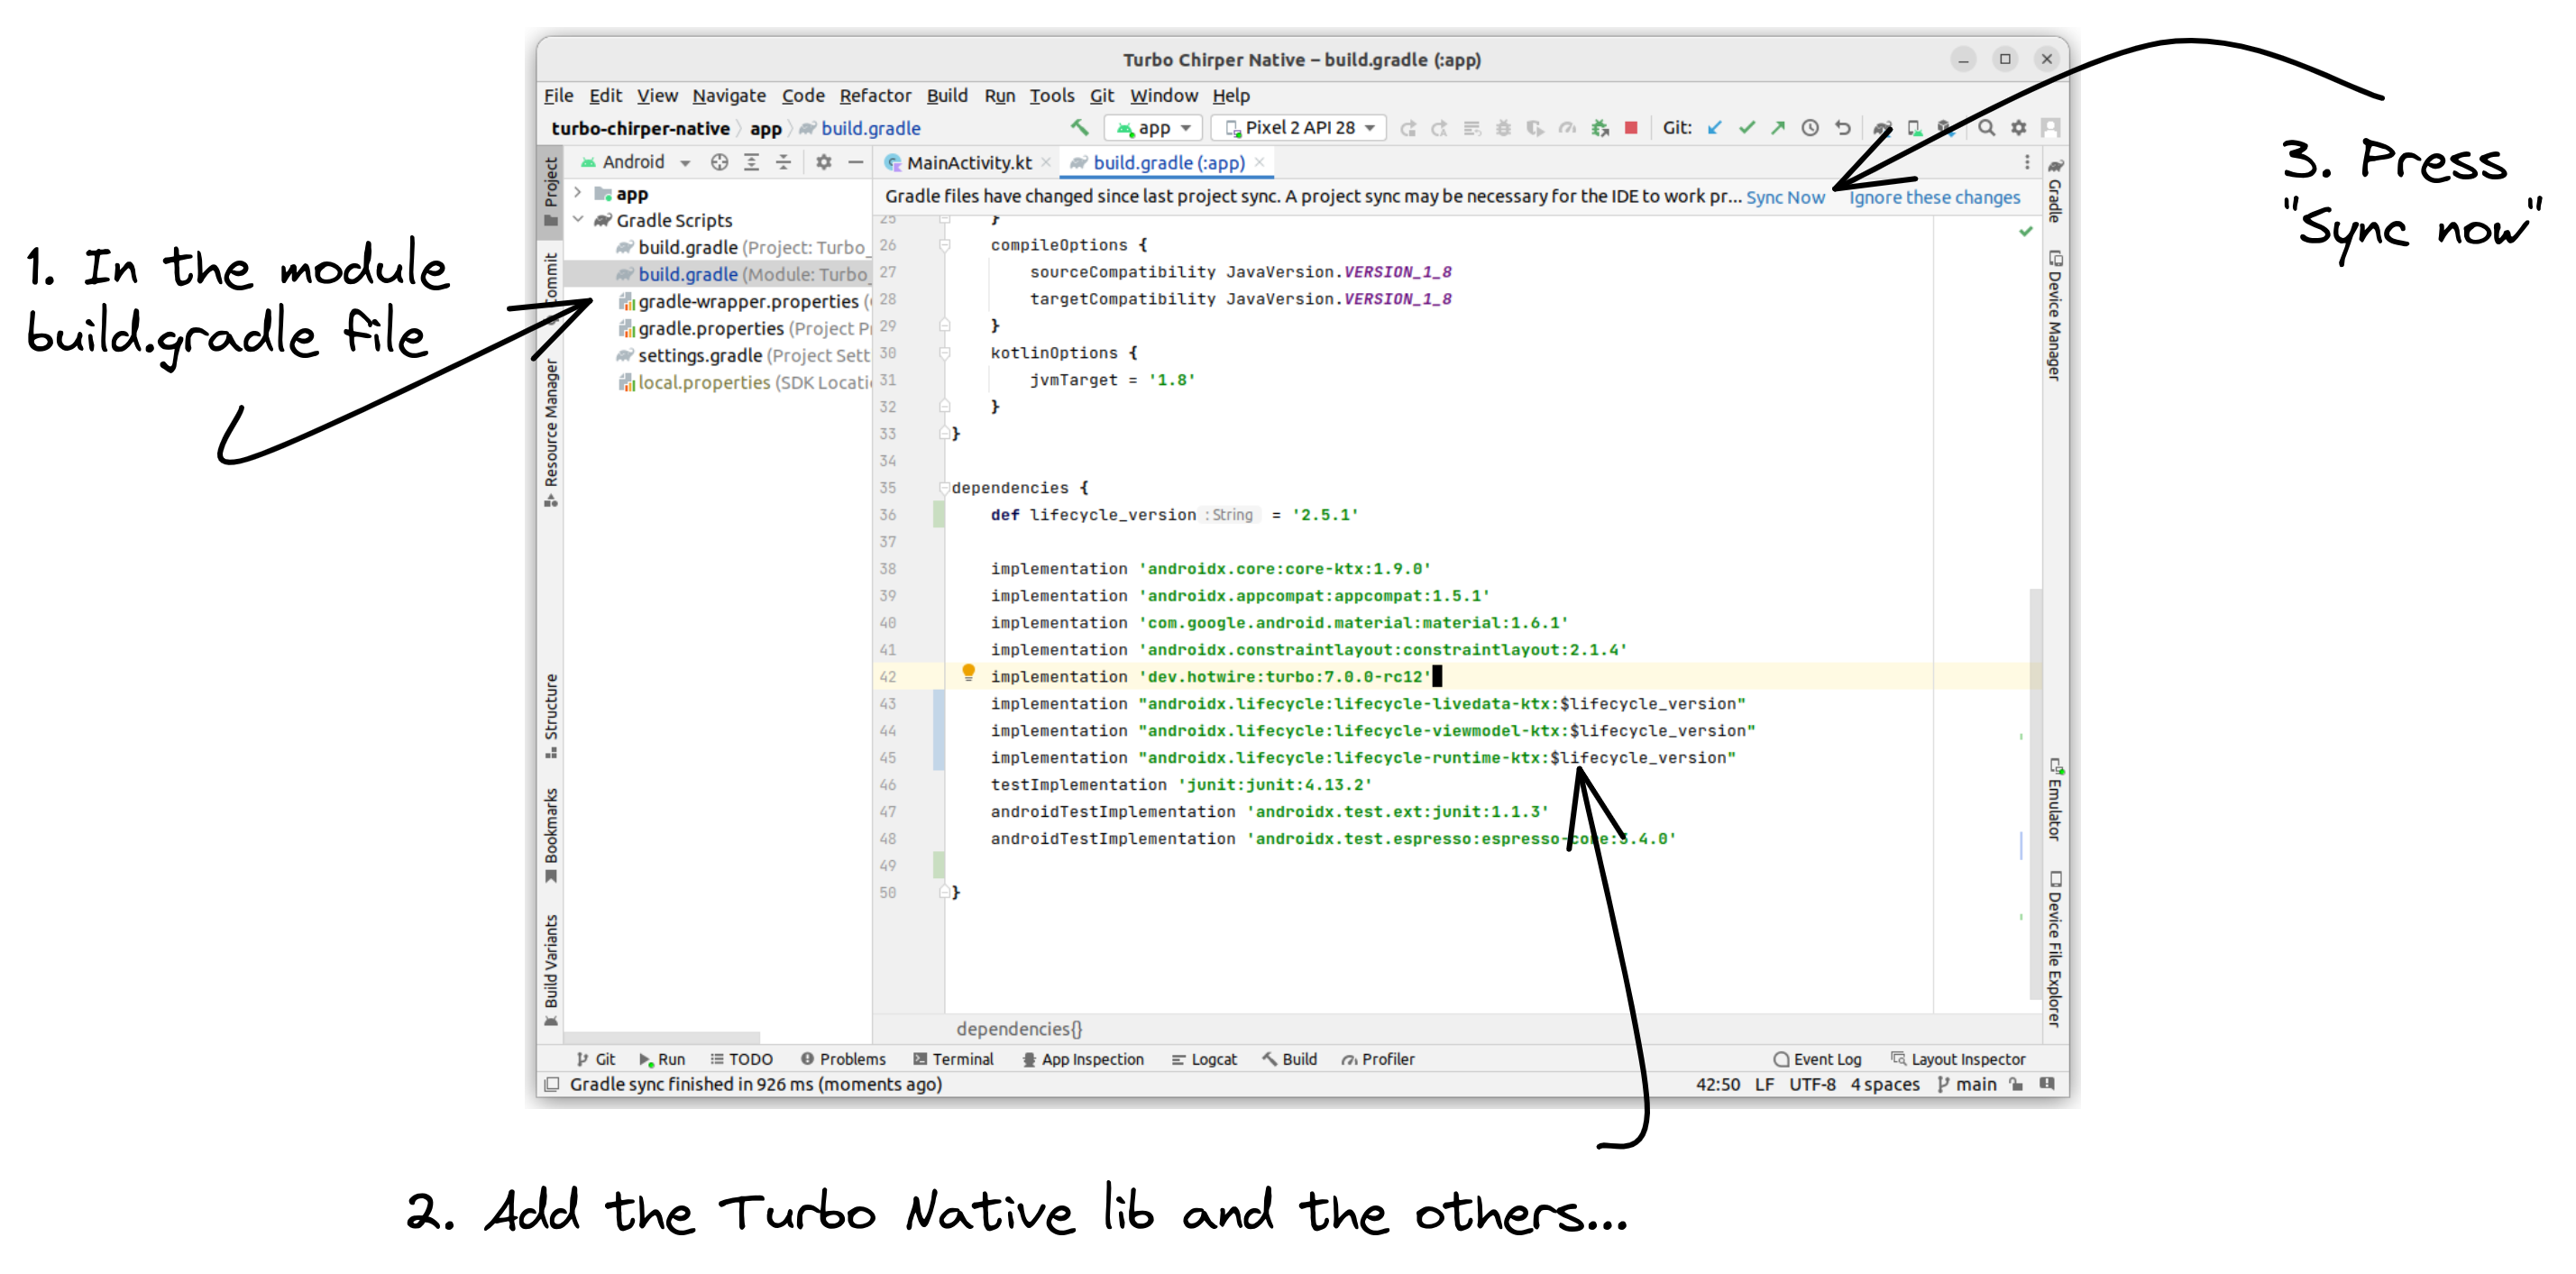
Now, let's add the Turbo lib. On the left sidebar, there's a "Gradle Scripts" section dropdown. Open it. In there, you should see 2 files named build.gradle, one for the project and one for th module. Open the module one. On it, scroll to the bottom where your dependencies are listed and add the Turbo Native one:
plugins {
id 'com.android.application' id 'org.jetbrains.kotlin.android' } android {
namespace 'com.example.turbochirpernative' compileSdk 33 defaultConfig { applicationId "com.example.turbochirpernative" minSdk 24 targetSdk 33 versionCode 1 versionName "1.0" testInstrumentationRunner "androidx.test.runner.AndroidJUnitRunner" } buildTypes { release { minifyEnabled false proguardFiles getDefaultProguardFile('proguard-android-optimize.txt'), 'proguard-rules.pro' } } compileOptions { sourceCompatibility JavaVersion.VERSION_1_8 targetCompatibility JavaVersion.VERSION_1_8 } kotlinOptions { jvmTarget = '1.8' } } dependencies { def lifecycle_version = '2.5.1' implementation 'androidx.core:core-ktx:1.9.0' implementation 'androidx.appcompat:appcompat:1.5.1' implementation 'com.google.android.material:material:1.6.1' implementation 'androidx.constraintlayout:constraintlayout:2.1.4' implementation 'dev.hotwire:turbo:7.0.0-rc12' implementation "androidx.lifecycle:lifecycle-livedata-ktx:$lifecycle_version" implementation "androidx.lifecycle:lifecycle-viewmodel-ktx:$lifecycle_version" implementation "androidx.lifecycle:lifecycle-runtime-ktx:$lifecycle_version" testImplementation 'junit:junit:4.13.2' androidTestImplementation 'androidx.test.ext:junit:1.1.3' androidTestImplementation 'androidx.test.espresso:espresso-core:3.4.0'}Then, press on "Sync now" at the top of the file. Once that's done, you should have Turbo installed.
Configuring Turbo Native
So far, we have only added Turbo Native to the project, but we're not using it yet. Let's configure it.
We're following the official Quick Start guide here.
Let's start by creating our NavHostFragment, which is a component available in Android Jetpack that provides a contained navigation area where our fragments will appear.
Before we start, let's create a util package where we're going to have a Constants Kotlin file. To do that, right-click on the root package and choosing the "New > Package" option. Then create the "util" package.
Inside of it, create the Constants.kt file with the following contents:
package com.example.turbochirpernative.util const val BASE_URL = "http://10.0.2.2"const val CHIRPS_HOME_URL = "$BASE_URL/chirps"We need to use something 10.0.2.2 instead of localhost here or something like Expose to get a remote URL that points to your app running locally.
Let's now create a package in our app called "main":
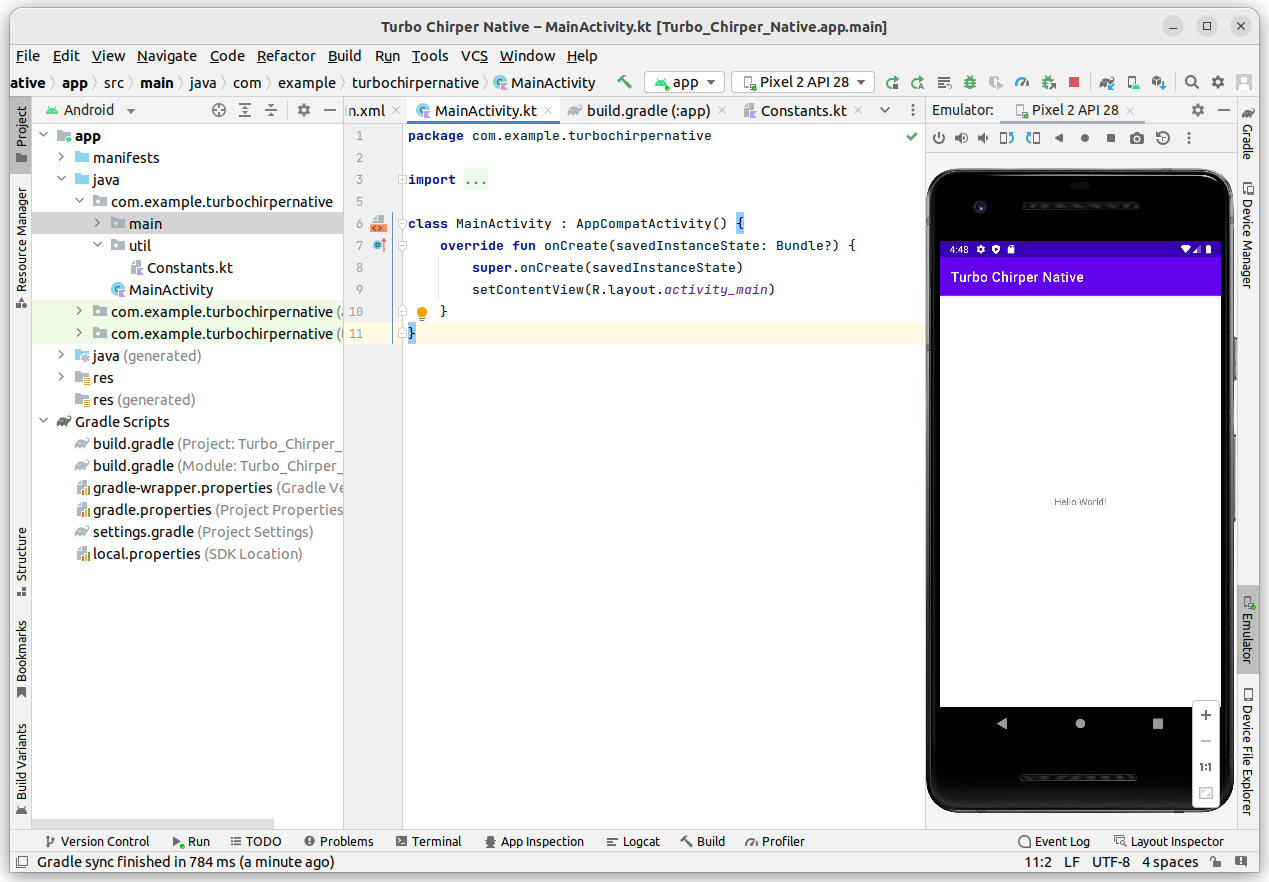
Now, create a Kotlin class called MainSessionNavHostFragment. This class will extend the TurboSessionNavHostFragment class that ships with Turbo, feel free to copy the body of the class (make sure the imports are correct and the package name too):
package com.example.turbochirpernative.main import android.webkit.WebViewimport androidx.appcompat.app.AppCompatActivityimport androidx.fragment.app.Fragmentimport com.example.turbochirpernative.util.CHIRPS_HOME_URLimport dev.hotwire.turbo.BuildConfigimport dev.hotwire.turbo.config.TurboPathConfigurationimport dev.hotwire.turbo.session.TurboSessionNavHostFragmentimport kotlin.reflect.KClass class MainSessionNavHostFragment : TurboSessionNavHostFragment() { override val sessionName = "main" override val startLocation = CHIRPS_HOME_URL override val registeredActivities: List<KClass<out AppCompatActivity>> get() = listOf() override val registeredFragments: List<KClass<out Fragment>> get() = listOf( // ) override val pathConfigurationLocation: TurboPathConfiguration.Location get() = TurboPathConfiguration.Location( assetFilePath = "json/configuration.json", ) override fun onSessionCreated() { super.onSessionCreated() session.webView.settings.userAgentString = customUserAgent(session.webView) if (BuildConfig.DEBUG) { session.setDebugLoggingEnabled(true) WebView.setWebContentsDebuggingEnabled(true) } } private fun customUserAgent(webView: WebView): String { return "Turbo Native Android ${webView.settings.userAgentString}" }}There's a lot going on here, and this code doesn't even work yet. Let's go piece by piece.
- The
startLocationproperty should point to your app's default home page. In our case, it's the/chirpspage. It could be the/dashboard, but we don't have anything there yet; - The
registeredActivitiesmethod is only used when we have more than one activity in our app, which isn't our case, so we return an empty list; - The
registeredFragmentsmethod will return a list of all fragments in our app to build the navigation graph. It's currently empty, but we'll use it in a bit; - The
pathConfigurationLocationreturns the location to the path configuration JSON files. This file will have some app specific configurations which can be used for things like feature toggles, but it's also going to have the navigation configuration where we're going to specify which fragments will be used based on the URL pattern (more on that later). Our app should must ship with a defaultconfiguration.jsonfile, but we could also provide a remote URL for the file that we could control dynamically from our backend server; - We're also configuring the WebView to use the
Turbo Native AndroidUser Agent header so we can detect in the backend that the request is coming from a Turbo Native client (see more here)
Okay, now let's create our configuration.json file. Right-click on the project root named "app" and choose "New > Directory", then call it "assets/json". Then, right-click on the json directory we just created, and add a new file called configuration.json with the following contents:
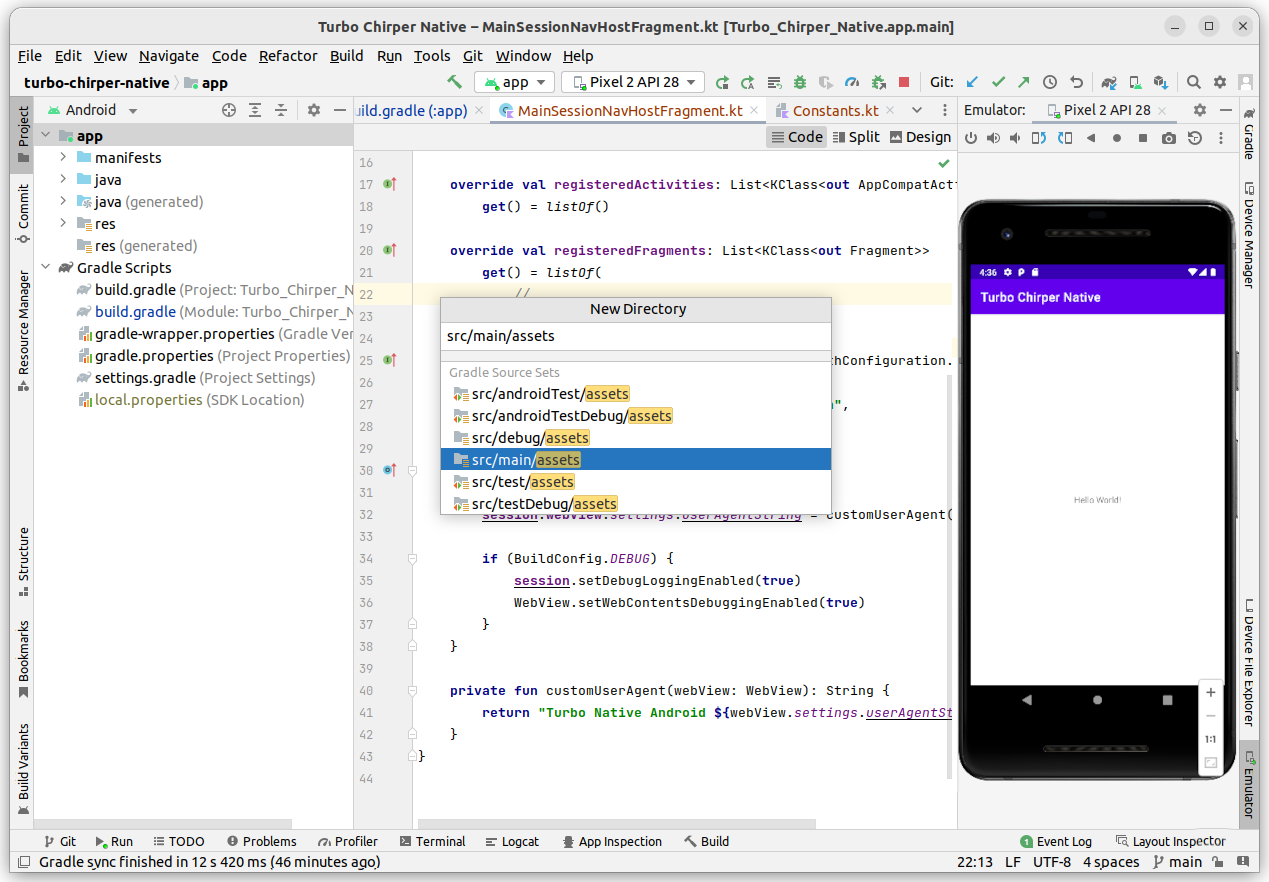
{ "settings": { "screenshots_enabled": true }, "rules": [ { "patterns": [ ".*" ], "properties": { "context": "default", "uri": "turbo://fragment/web", "pull_to_refresh_enabled": true } } ]}We only have one rule defined in this file right now. This is the "catch-all" rule, which will be applied to every navigation started by Turbo. By default, it will render the fragment configured as the turbo://fragment/web URI. Let's create that fragment and register it in our MainSessionNavHostFragment.
To create the fragment, let's first create a "features" package and then a "web" package inside of it. The "features" package will be where we keep our fragments and we can create sub packages for each subsystem we may have. For now, we only have one which we'll call "web".
Inside of the features.web package, create a Kotlin class named WebFragment with the following contents:
package com.example.turbochirpernative.features.web import dev.hotwire.turbo.fragments.TurboWebFragmentimport dev.hotwire.turbo.nav.TurboNavGraphDestination @TurboNavGraphDestination(uri = "turbo://fragment/web")class WebFragment: TurboWebFragment() {}Notice that we're annotating this class as the turbo://fragment/web URI using the TurboNavGraphDestination annotation. This matches our URI config for the catch-all rule in our configuration.json file.
Now, let's register this fragment in the MainSessionNavHostFragment:
package com.example.turbochirpernative.main
import android.webkit.WebViewimport androidx.appcompat.app.AppCompatActivityimport androidx.fragment.app.Fragmentimport com.example.turbochirpernative.features.web.WebFragmentimport com.example.turbochirpernative.util.CHIRPS_HOME_URLimport dev.hotwire.turbo.BuildConfigimport dev.hotwire.turbo.config.TurboPathConfigurationimport dev.hotwire.turbo.session.TurboSessionNavHostFragmentimport kotlin.reflect.KClass class MainSessionNavHostFragment : TurboSessionNavHostFragment() {
override val sessionName = "main" override val startLocation = CHIRPS_HOME_URL override val registeredActivities: List<KClass<out AppCompatActivity>> get() = listOf() override val registeredFragments: List<KClass<out Fragment>> get() = listOf( // WebFragment::class )
override val pathConfigurationLocation: TurboPathConfiguration.Location get() = TurboPathConfiguration.Location( assetFilePath = "json/configuration.json", ) override fun onSessionCreated() { super.onSessionCreated() session.webView.settings.userAgentString = customUserAgent(session.webView) if (BuildConfig.DEBUG) { session.setDebugLoggingEnabled(true) WebView.setWebContentsDebuggingEnabled(true) } } private fun customUserAgent(webView: WebView): String { return "Turbo Native Android ${webView.settings.userAgentString}" } }Next, we need to update our MainActivity to use the MainSessionNavHostFragment we have just created. But before we do that, let's do a refactor and also move it to the "main" package. You may have to do it twice for the refactoring to take effect.
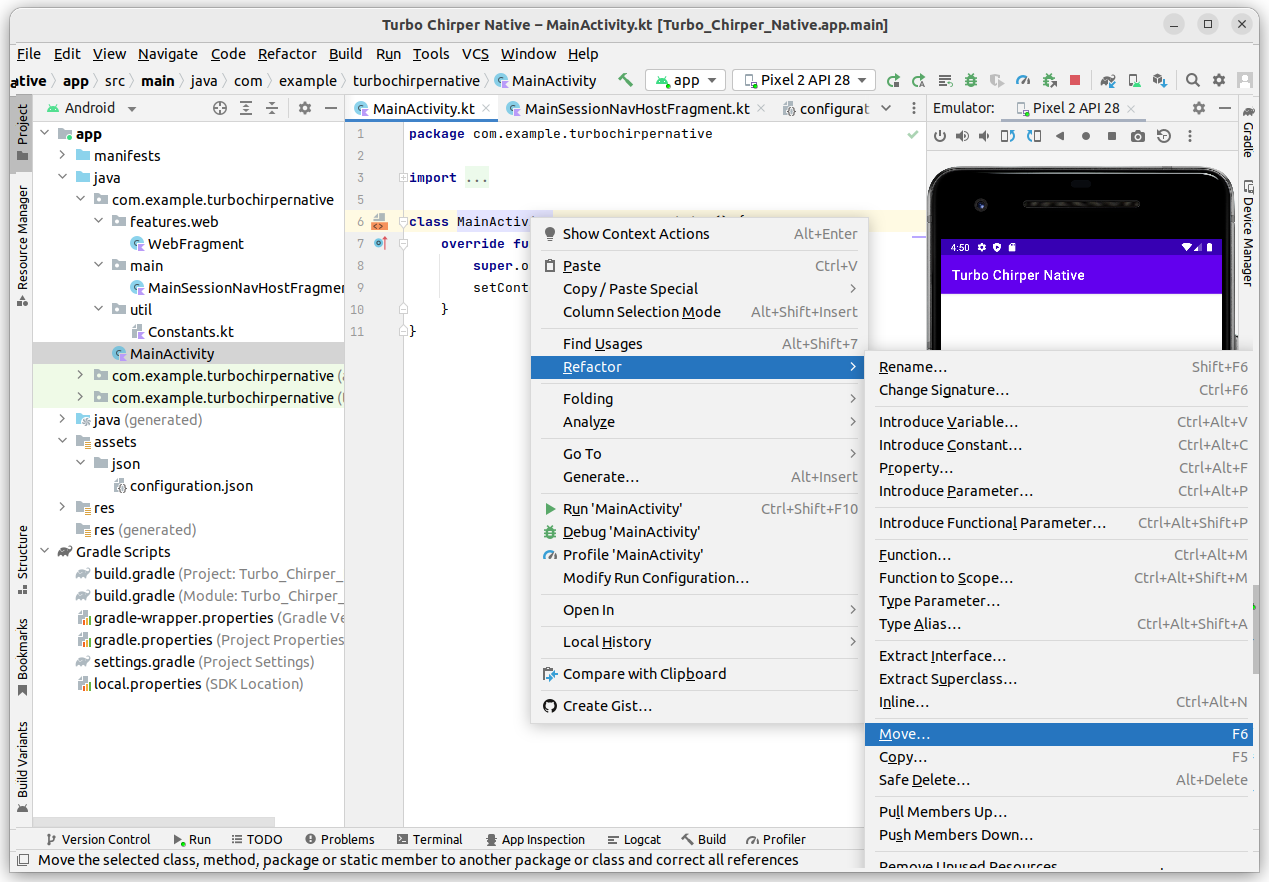
This activity class is referenced in the AndroidManifest.xml file, make sure you update the reference to also use the .main package. You can edit the manifest by clicking on the "app/manifests" section on your left sidebar. Since we're changing the manifest, let's also make sure we add the INTERNET permission to our app, otherwise we won't be able to make network requests.
<?xml version="1.0" encoding="utf-8"?><manifest xmlns:android="http://schemas.android.com/apk/res/android" xmlns:tools="http://schemas.android.com/tools"> <uses-permission android:name="android.permission.INTERNET" /> <application
android:allowBackup="true" android:dataExtractionRules="@xml/data_extraction_rules" android:fullBackupContent="@xml/backup_rules" android:icon="@mipmap/ic_launcher" android:label="@string/app_name" android:roundIcon="@mipmap/ic_launcher_round" android:supportsRtl="true" android:theme="@style/Theme.TurboChirperNative" tools:targetApi="31" android:usesCleartextTraffic="true"> <activity android:name=".MainActivity" android:name=".main.MainActivity" android:exported="true" android:label="@string/app_name" android:theme="@style/Theme.TurboChirperNative">
<intent-filter> <action android:name="android.intent.action.MAIN" /> <category android:name="android.intent.category.LAUNCHER" /> </intent-filter> <meta-data android:name="android.app.lib_name" android:value="" /> </activity> </application> </manifest>Now, let's update our activity_main.xml layout file. Update it to match this content:
<?xml version="1.0" encoding="utf-8"?><androidx.constraintlayout.widget.ConstraintLayout xmlns:android="http://schemas.android.com/apk/res/android" xmlns:app="http://schemas.android.com/apk/res-auto" android:layout_width="match_parent" android:layout_height="match_parent"> <androidx.fragment.app.FragmentContainerView android:id="@+id/main_nav_host" android:name="com.example.turbochirpernative.main.MainSessionNavHostFragment" android:layout_width="match_parent" android:layout_height="match_parent" app:defaultNavHost="false" /> </androidx.constraintlayout.widget.ConstraintLayout>Make sure the android:name property points to the full package namespace of your MainSessionNavHostFragment.
Next, update the MainActivity to match this:
package com.example.turbochirpernative.main import android.os.Bundleimport com.example.turbochirpernative.Rimport androidx.appcompat.app.AppCompatActivityimport dev.hotwire.turbo.activities.TurboActivityimport dev.hotwire.turbo.delegates.TurboActivityDelegate class MainActivity : AppCompatActivity(), TurboActivity { override lateinit var delegate: TurboActivityDelegate override fun onCreate(savedInstanceState: Bundle?) { super.onCreate(savedInstanceState) setContentView(R.layout.activity_main) delegate = TurboActivityDelegate(this, R.id.main_nav_host) }}Now, if you run the app, you should see that we have successfully wrapped our web app in a native shell using Turbo Native! Yay!
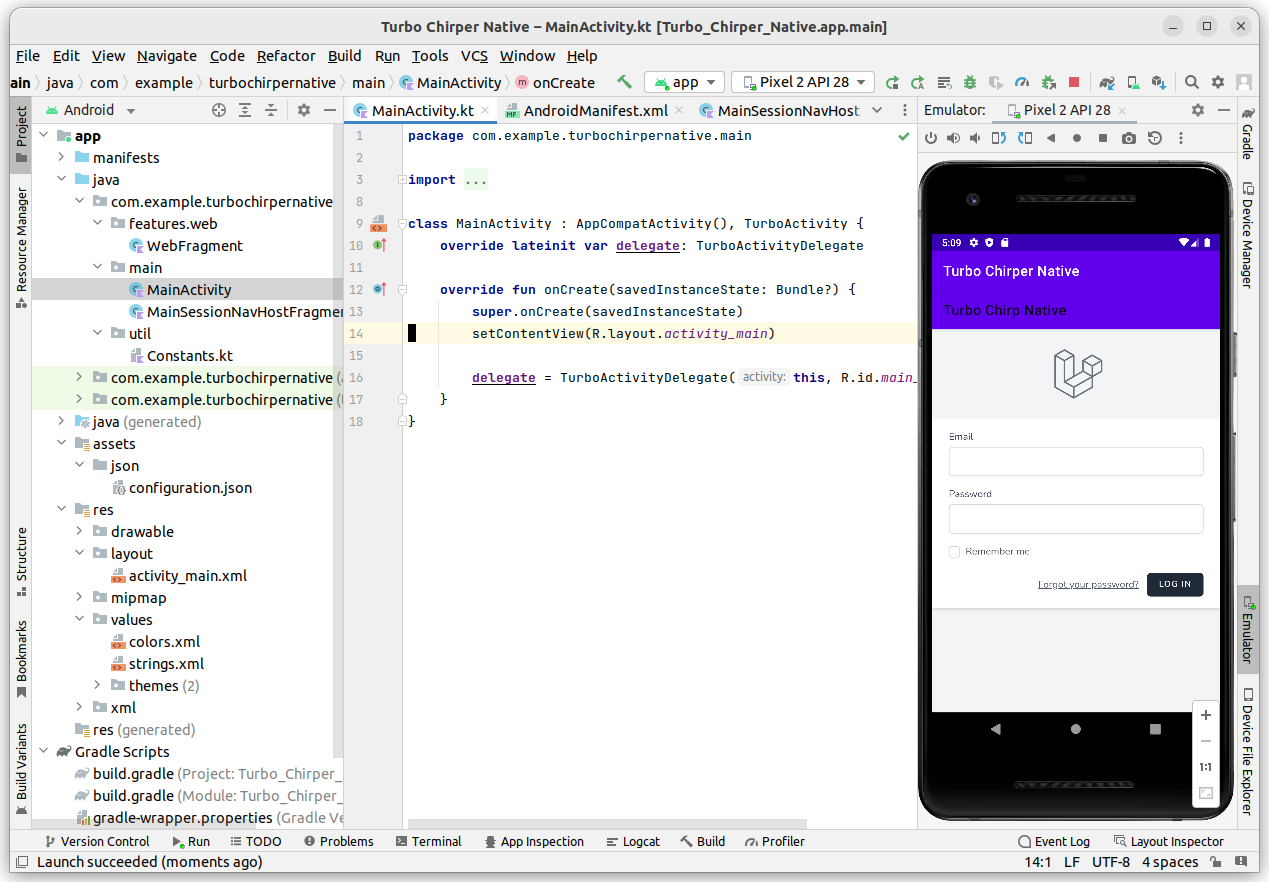
As of right now, mobile users have access to all the features exactly the way it works on mobile. As long as we build our features with a mobile first mentality using responsive UIs, we should be good most of the time. However, as of right now, you may notice our app is a little weird to use on mobile. Let's tweak our app so it looks better.
Let's hide the top-level action bar and only leave the right below it. Open the layout file in "res -> values -> themes" and make it inherit from the NoActionBar theme:
<resources xmlns:tools="http://schemas.android.com/tools"> <!-- Base application theme. --> <style name="Theme.TurboChirperNative" parent="Theme.MaterialComponents.DayNight.DarkActionBar"> <style name="Theme.TurboChirperNative" parent="Theme.MaterialComponents.DayNight.NoActionBar">
<!-- Primary brand color. --> <item name="colorPrimary">@color/purple_500</item> <item name="colorPrimary">@color/indigo_500</item> <item name="colorPrimaryVariant">@color/purple_700</item> <item name="colorPrimaryVariant">@color/indigo_700</item> <item name="colorOnPrimary">@color/white</item> <!-- Secondary brand color. --> <item name="colorSecondary">@color/teal_200</item> <item name="colorSecondaryVariant">@color/teal_700</item> <item name="colorOnSecondary">@color/black</item> <!-- Status bar color. --> <item name="android:statusBarColor">?colorPrimary</item> <!-- Customize your theme here. --> </style></resources>Then, change add the new indigo colors to the colors.xml file in "res -> values -> colors.xml":
<?xml version="1.0" encoding="utf-8"?><resources> <color name="indigo_500">#6366f1</color> <color name="indigo_700">#4338ca</color> <color name="purple_200">#FFBB86FC</color> <color name="purple_500">#FF6200EE</color> <color name="purple_700">#FF3700B3</color> <color name="teal_200">#FF03DAC5</color> <color name="teal_700">#FF018786</color> <color name="black">#FF000000</color> <color name="white">#FFFFFFFF</color></resources>Now, it looks a little better. If you try to login, you should see the app looks exactly like you'd expect: it's a web responsive version of the Turbo Chirper app we built on the previous module.
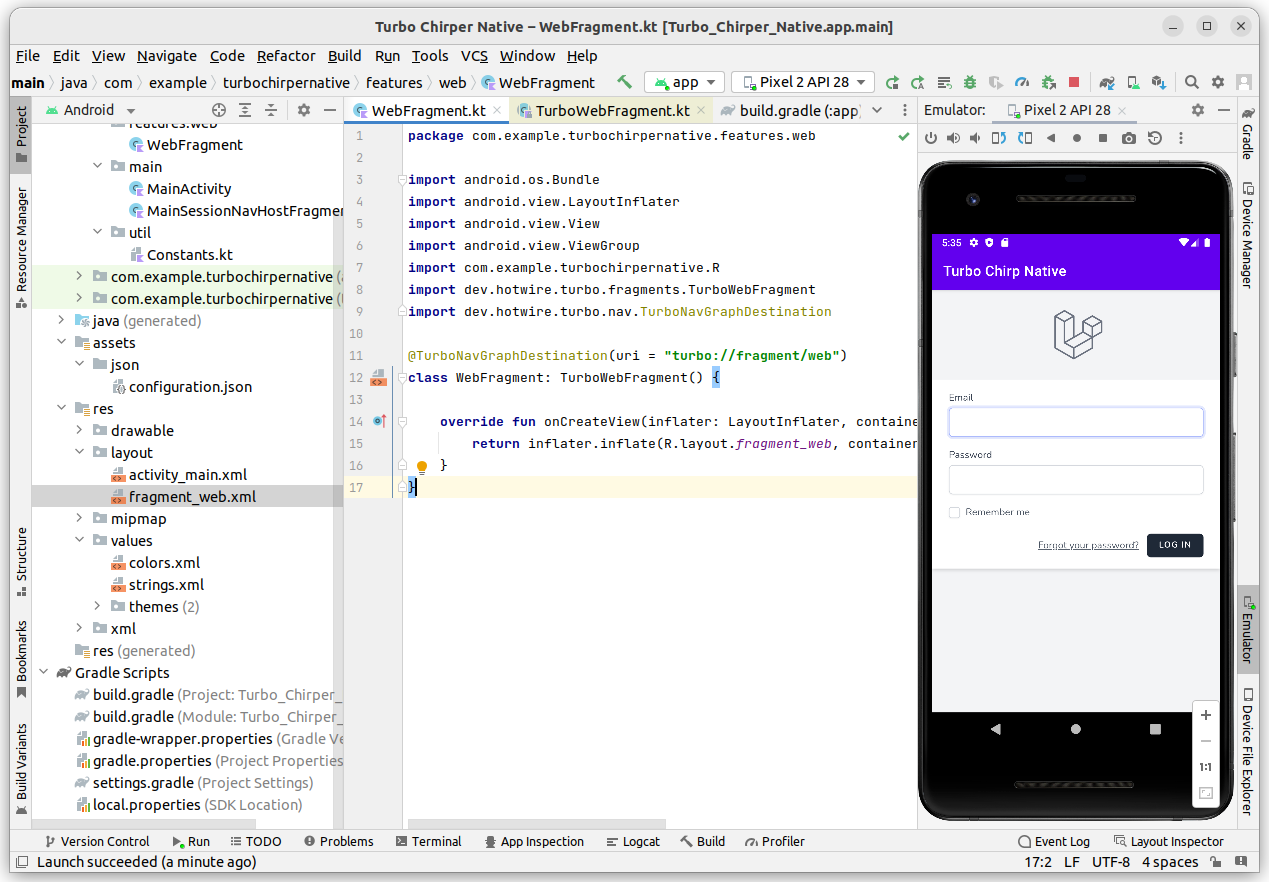
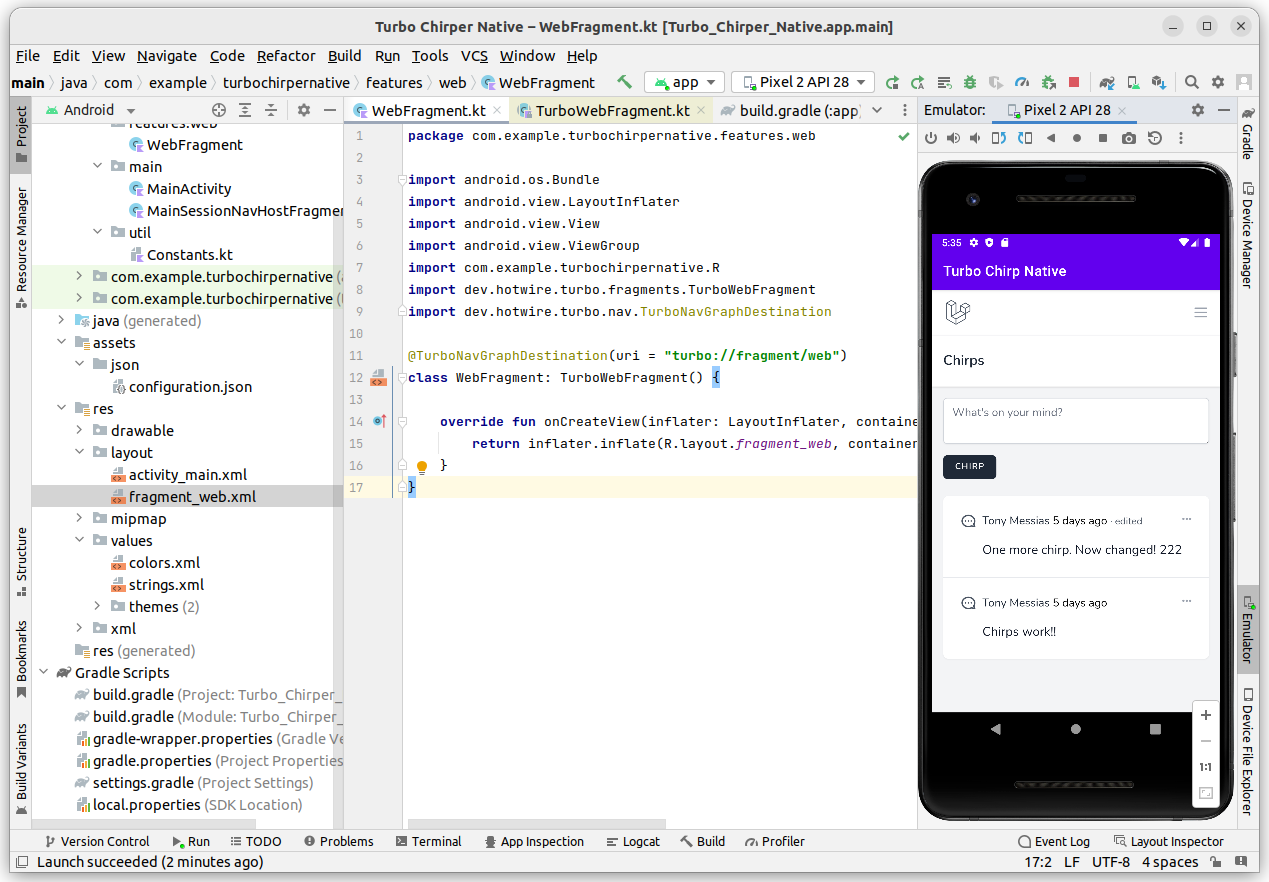
There are a bunch of things we can improve here. Some of the interactions we built for the web don't really make sense in a mobile UX point-of-view. For instance:
- Adding a Chirp inline. Or editing a Chirp inline. These features would usually be done in a native modal screen instead of showing the forms inline
- We're currently showing the web navbar at the top of the page, but that's not that useful inside the mobile app (it's still useful for users visiting our webapp from mobile device's browsers), as menu bars and dropdowns like that kind of breaks the illusion of native screens. Same goes for the edit/delete Chirp dropdown
- Right now we're only authenticating users inside the WebView using Cookies. However, it's not uncommon to need a fully native screen here and there to enhance the mobile experience. For that, we would need to setup some API routes and handle authentication
And we're gonna solve all that!